smart reflow · pro
Resize a design to any format.
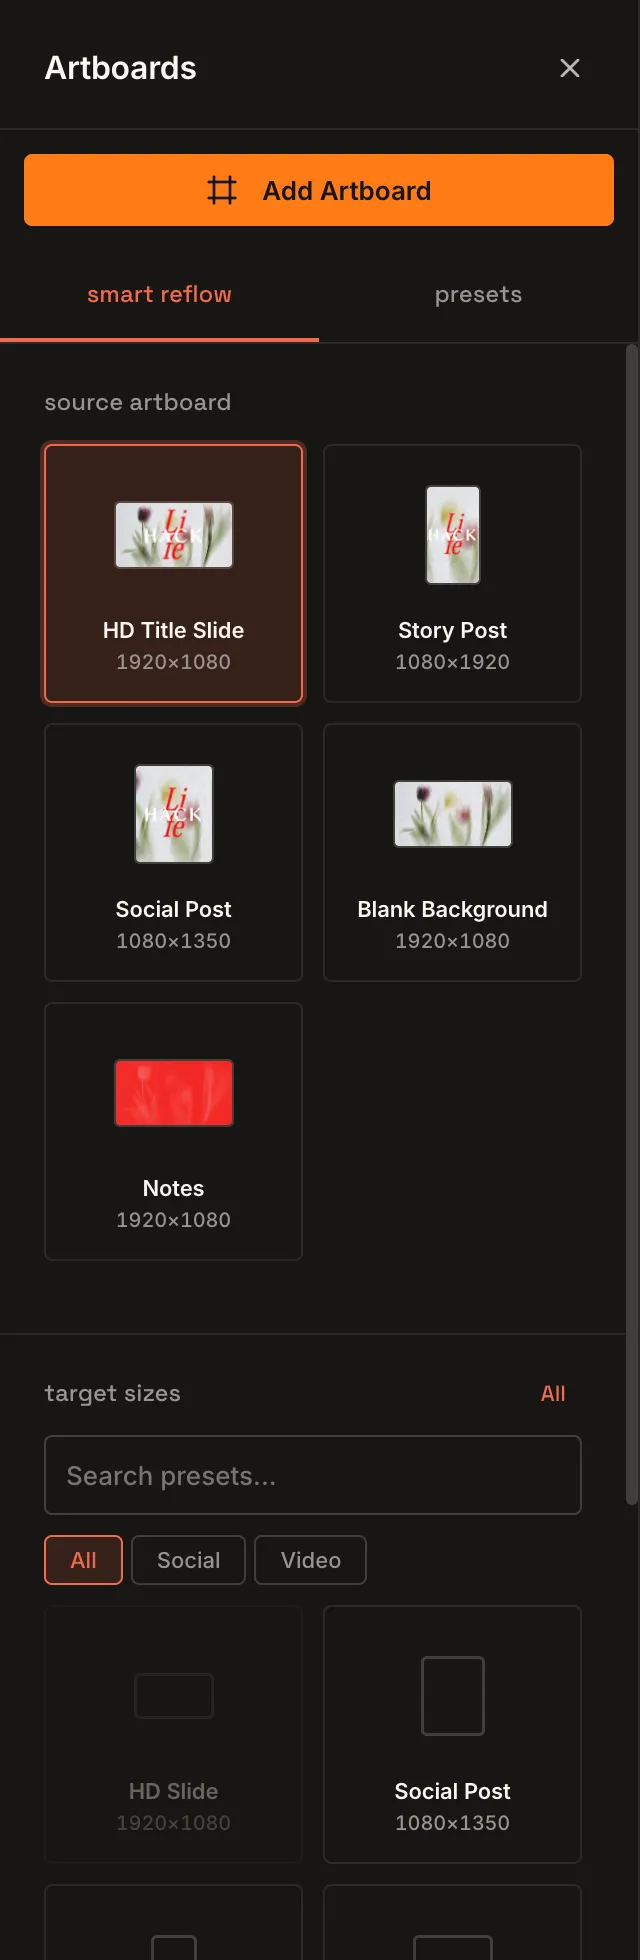
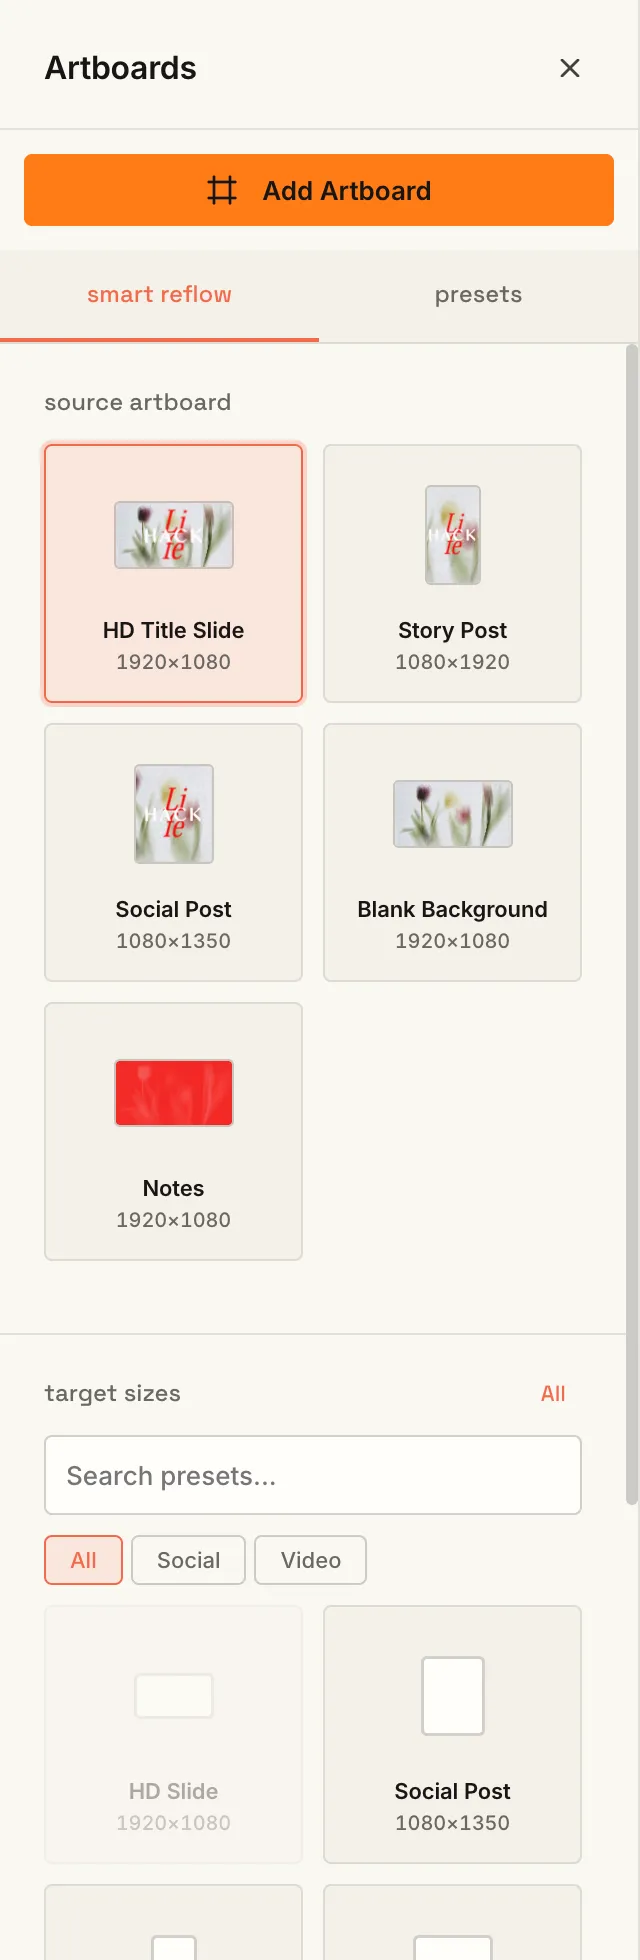
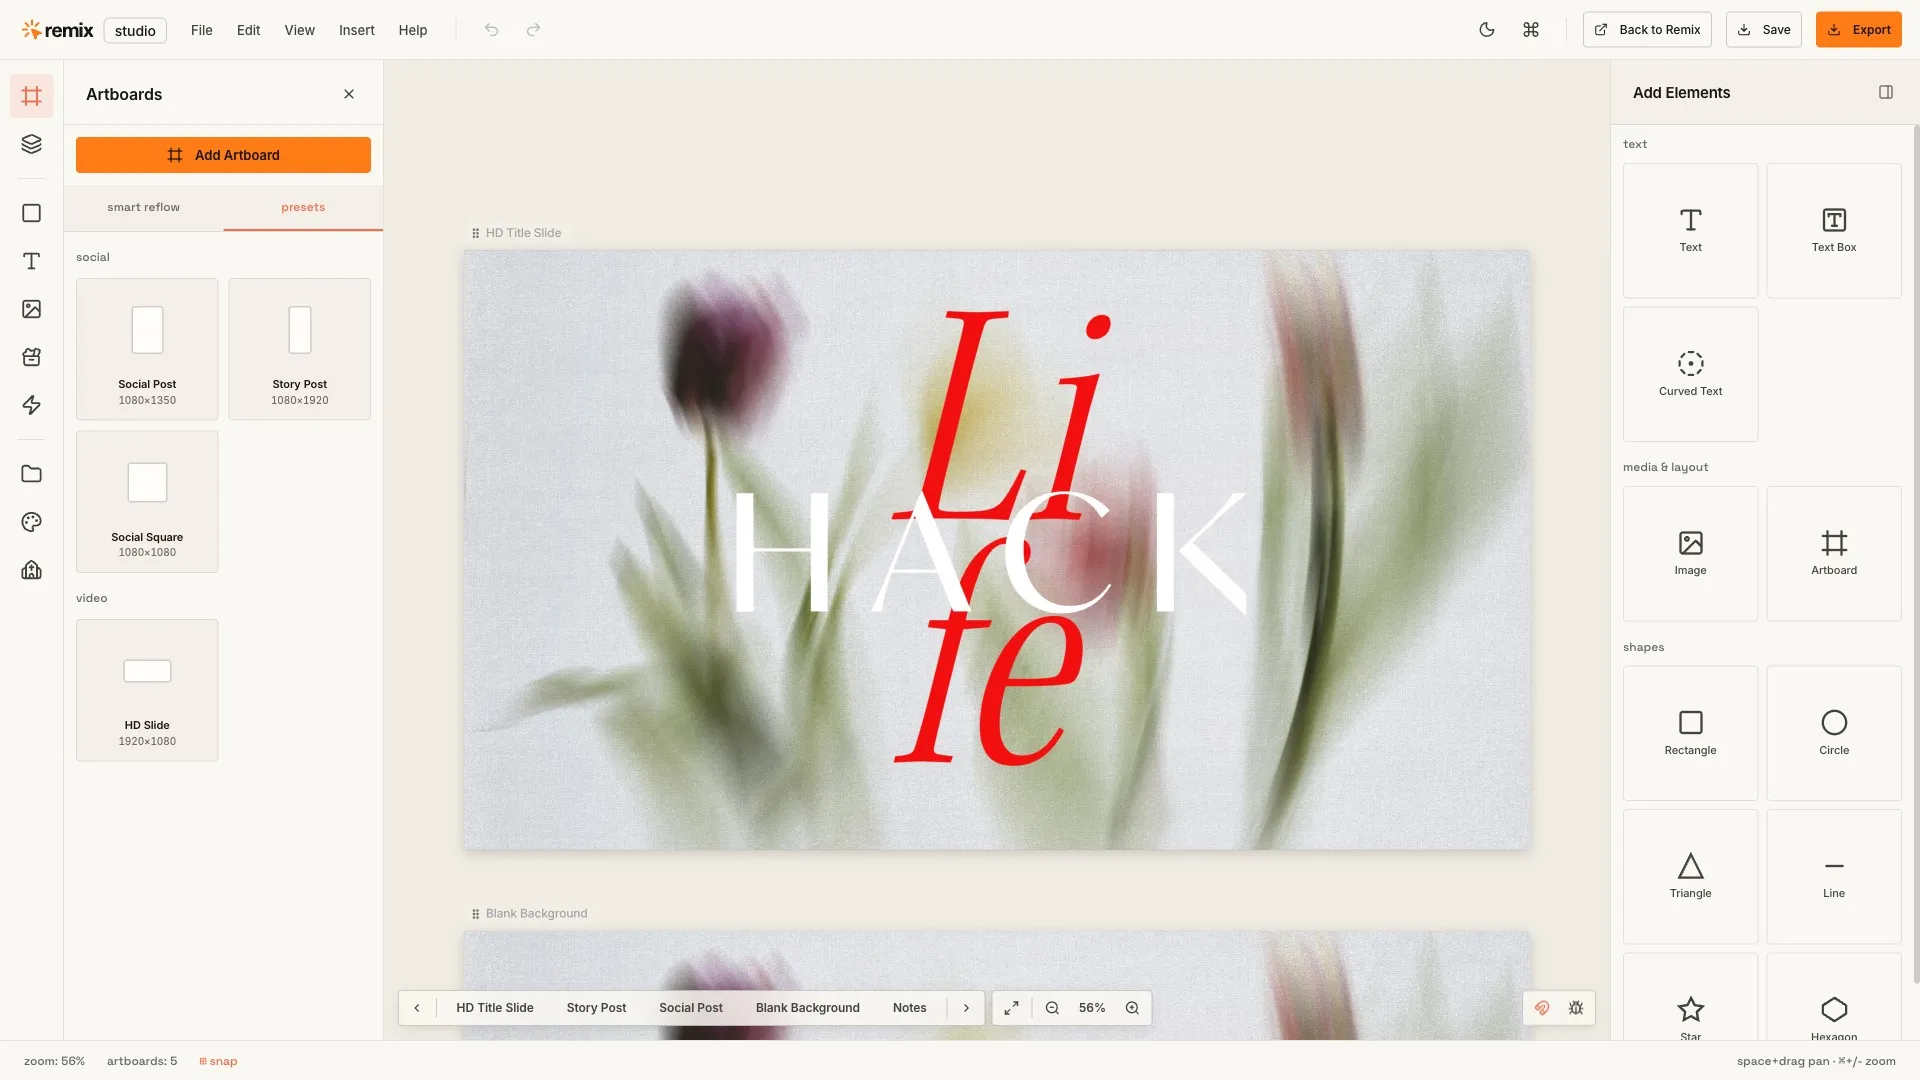
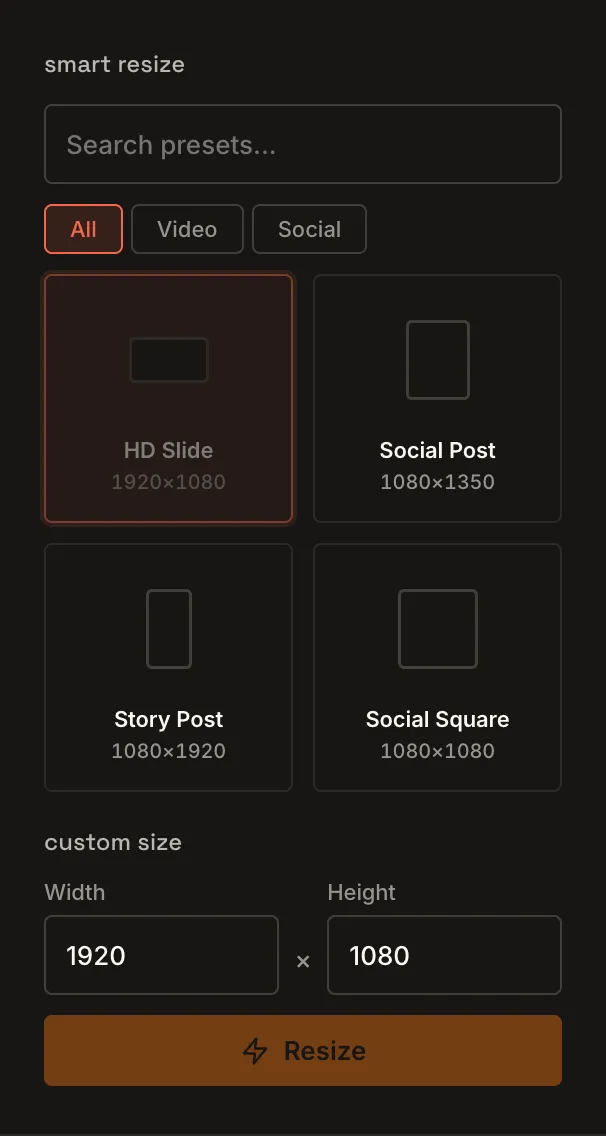
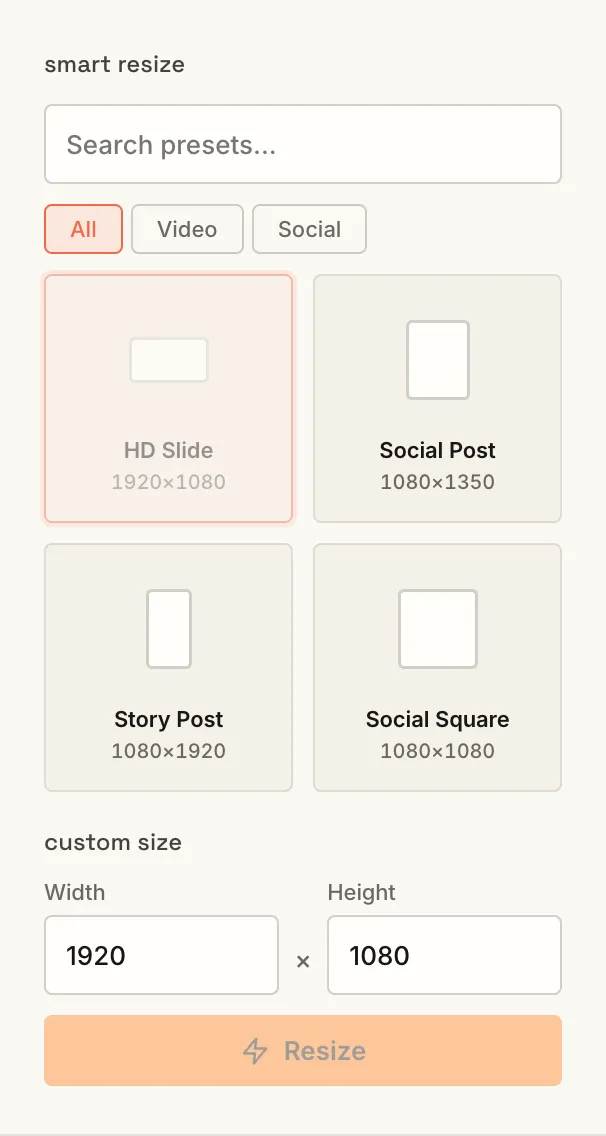
Turn a Social Post into a Story Post, an HD Slide, or all three at once. Smart Reflow rearranges your text and images to fit each new size, giving you a strong starting point you can adjust.
remix studio user guide
Make slides, social posts, and full sermon decks in your browser, with nothing to install. Built for the people who make a church’s graphics every week.
No account needed: try it on a sample template.
quick start
Open a template with Edit in Remix Studio, change the titles, swap the colors, then export your graphics. Four steps. That’s it.
Browse templates on remixchurchmedia.com. A template that can be edited in Remix Studio has an Edit in Remix Studio button on its page.
On the template page, click Edit in Remix Studio. Every artboard opens already laid out.
Change the title, add dates, update colors, or add an image.
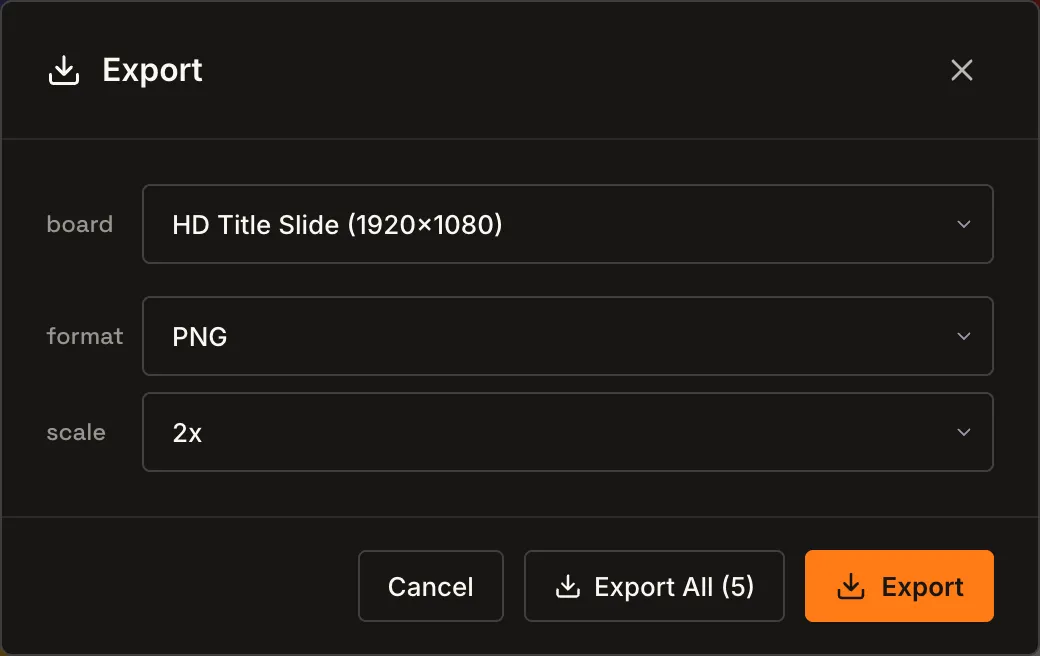
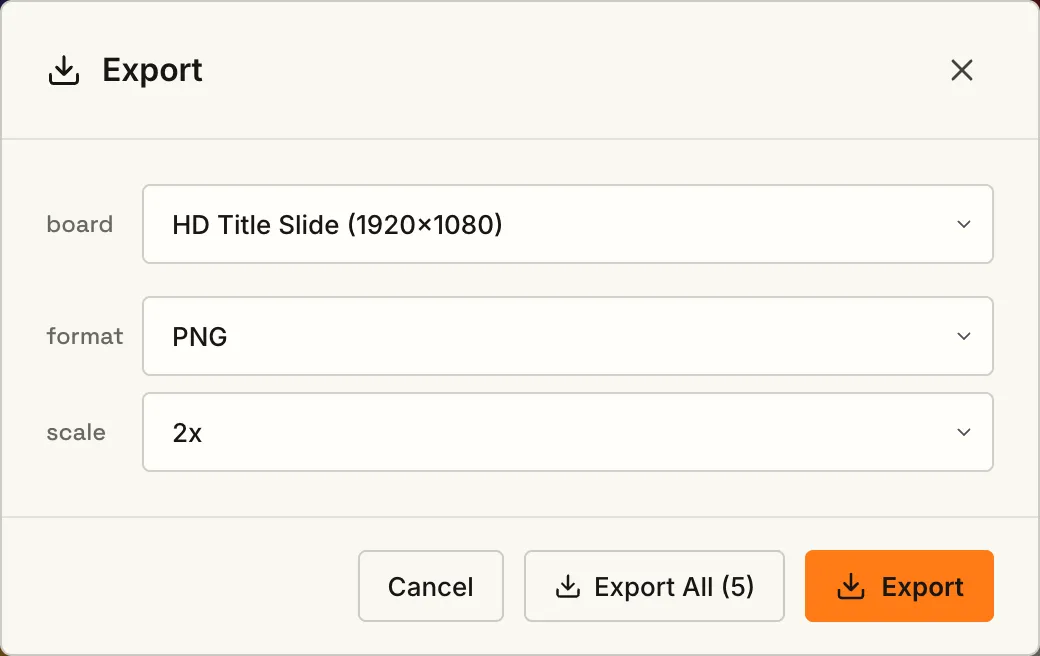
Cmd/Ctrl + S saves to the cloud. Click Export, then Export All to download every artboard at once.
the editor
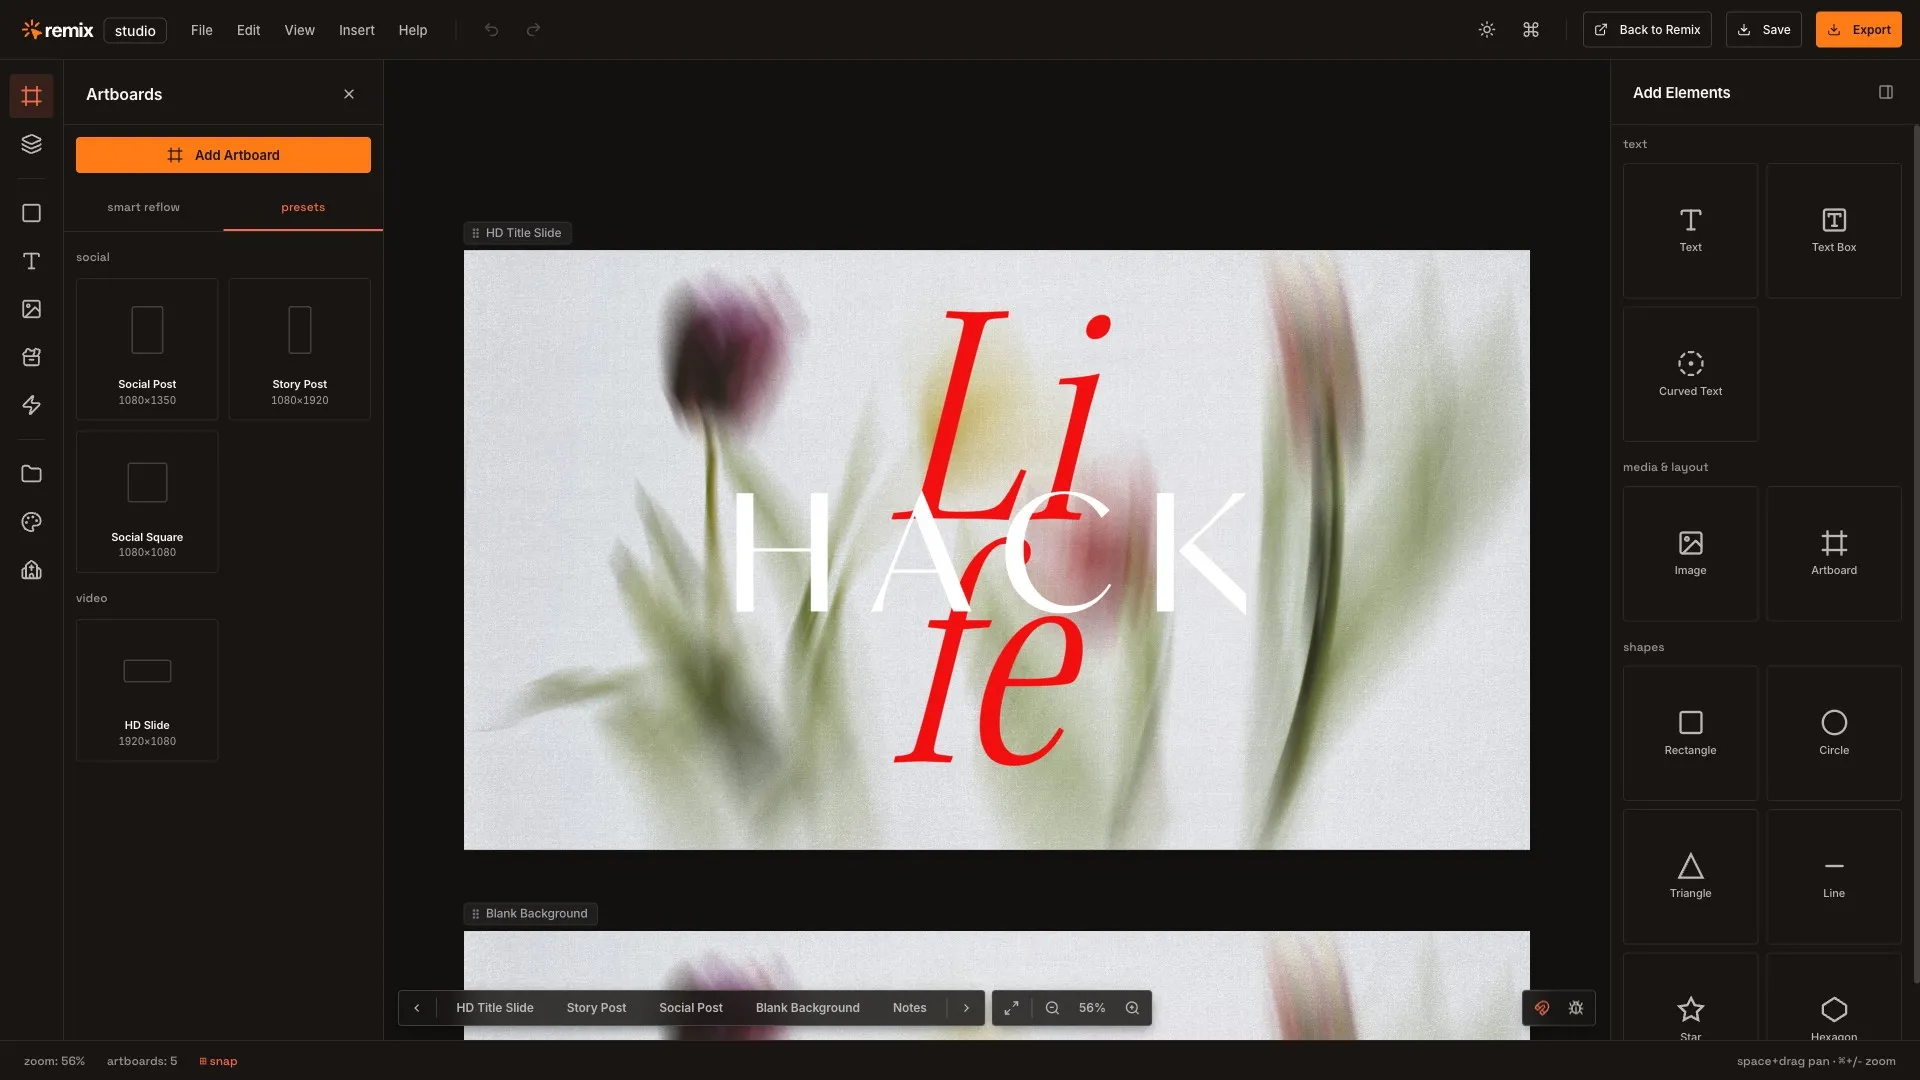
Hover or tap a number to learn what each part of the editor does. Most everyday tasks live in two places: a panel on the left to add things, and the Properties panel on the right to style them.
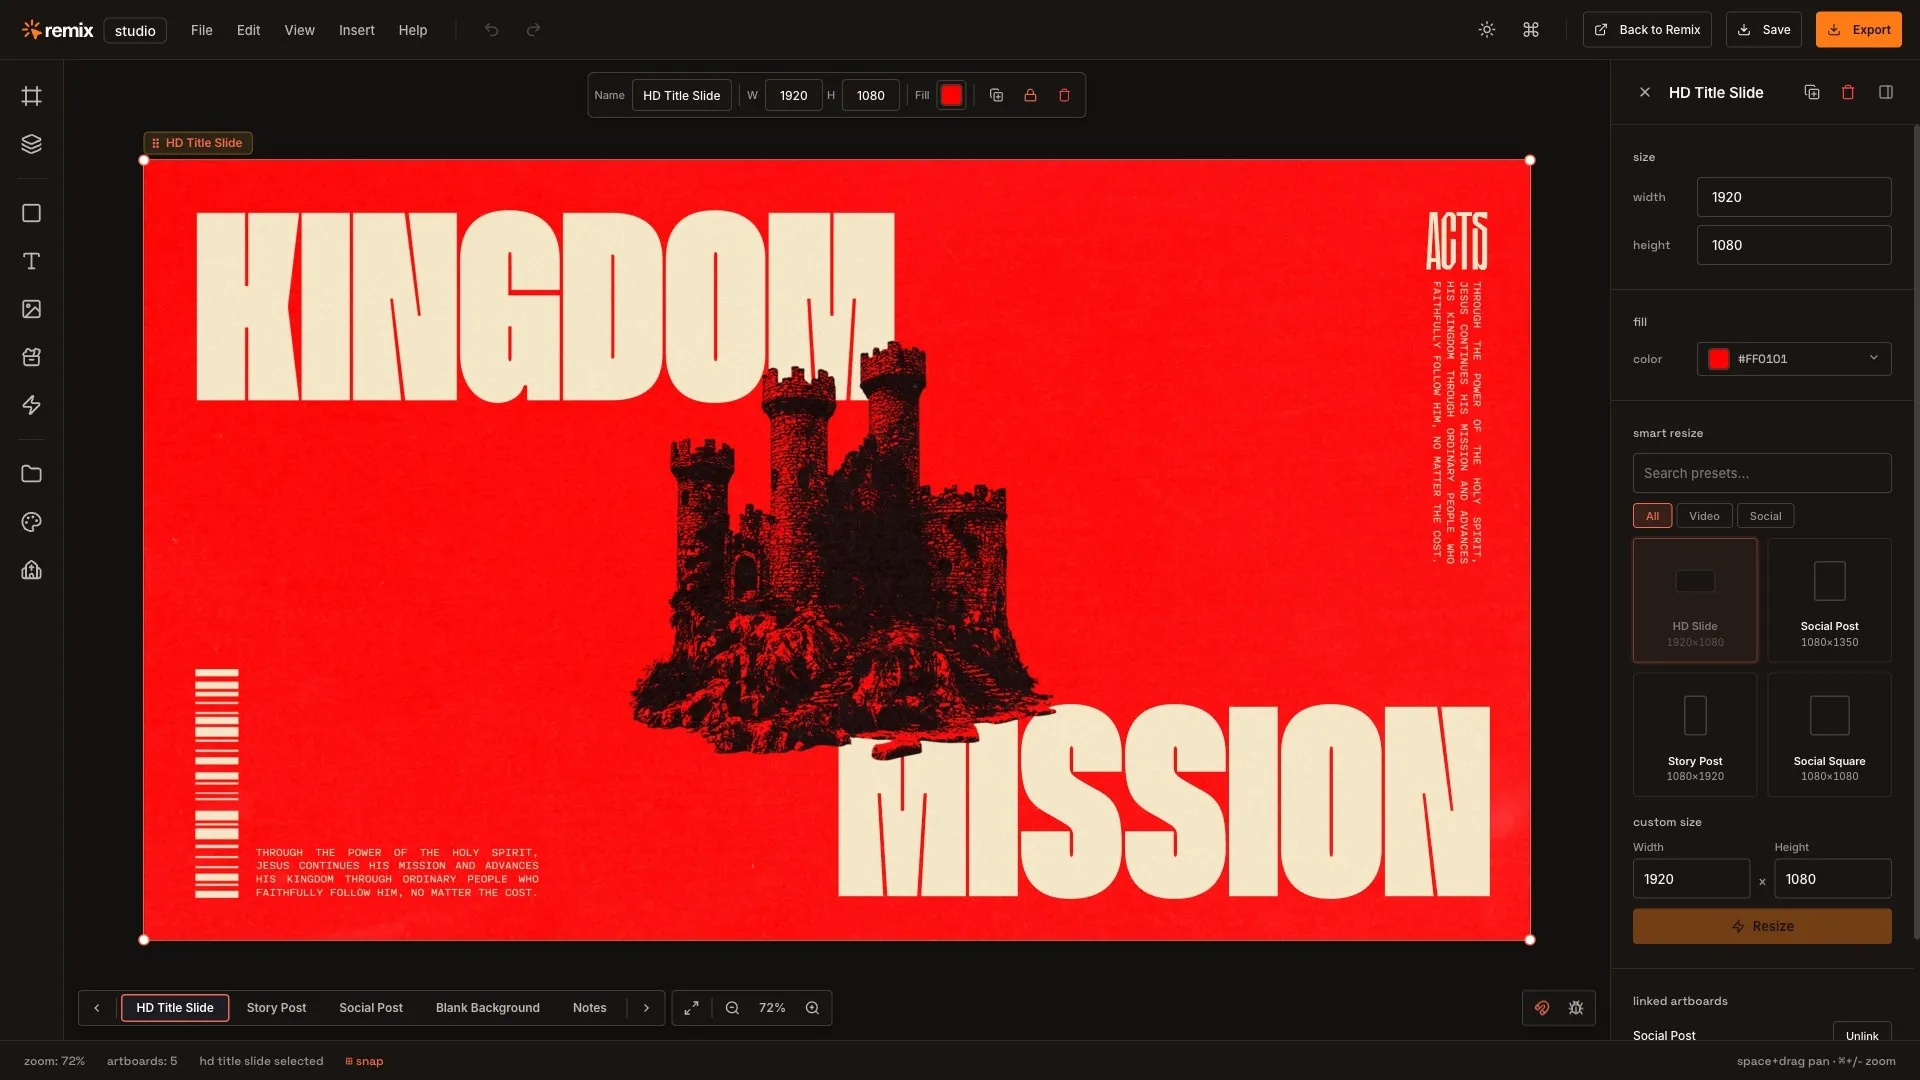
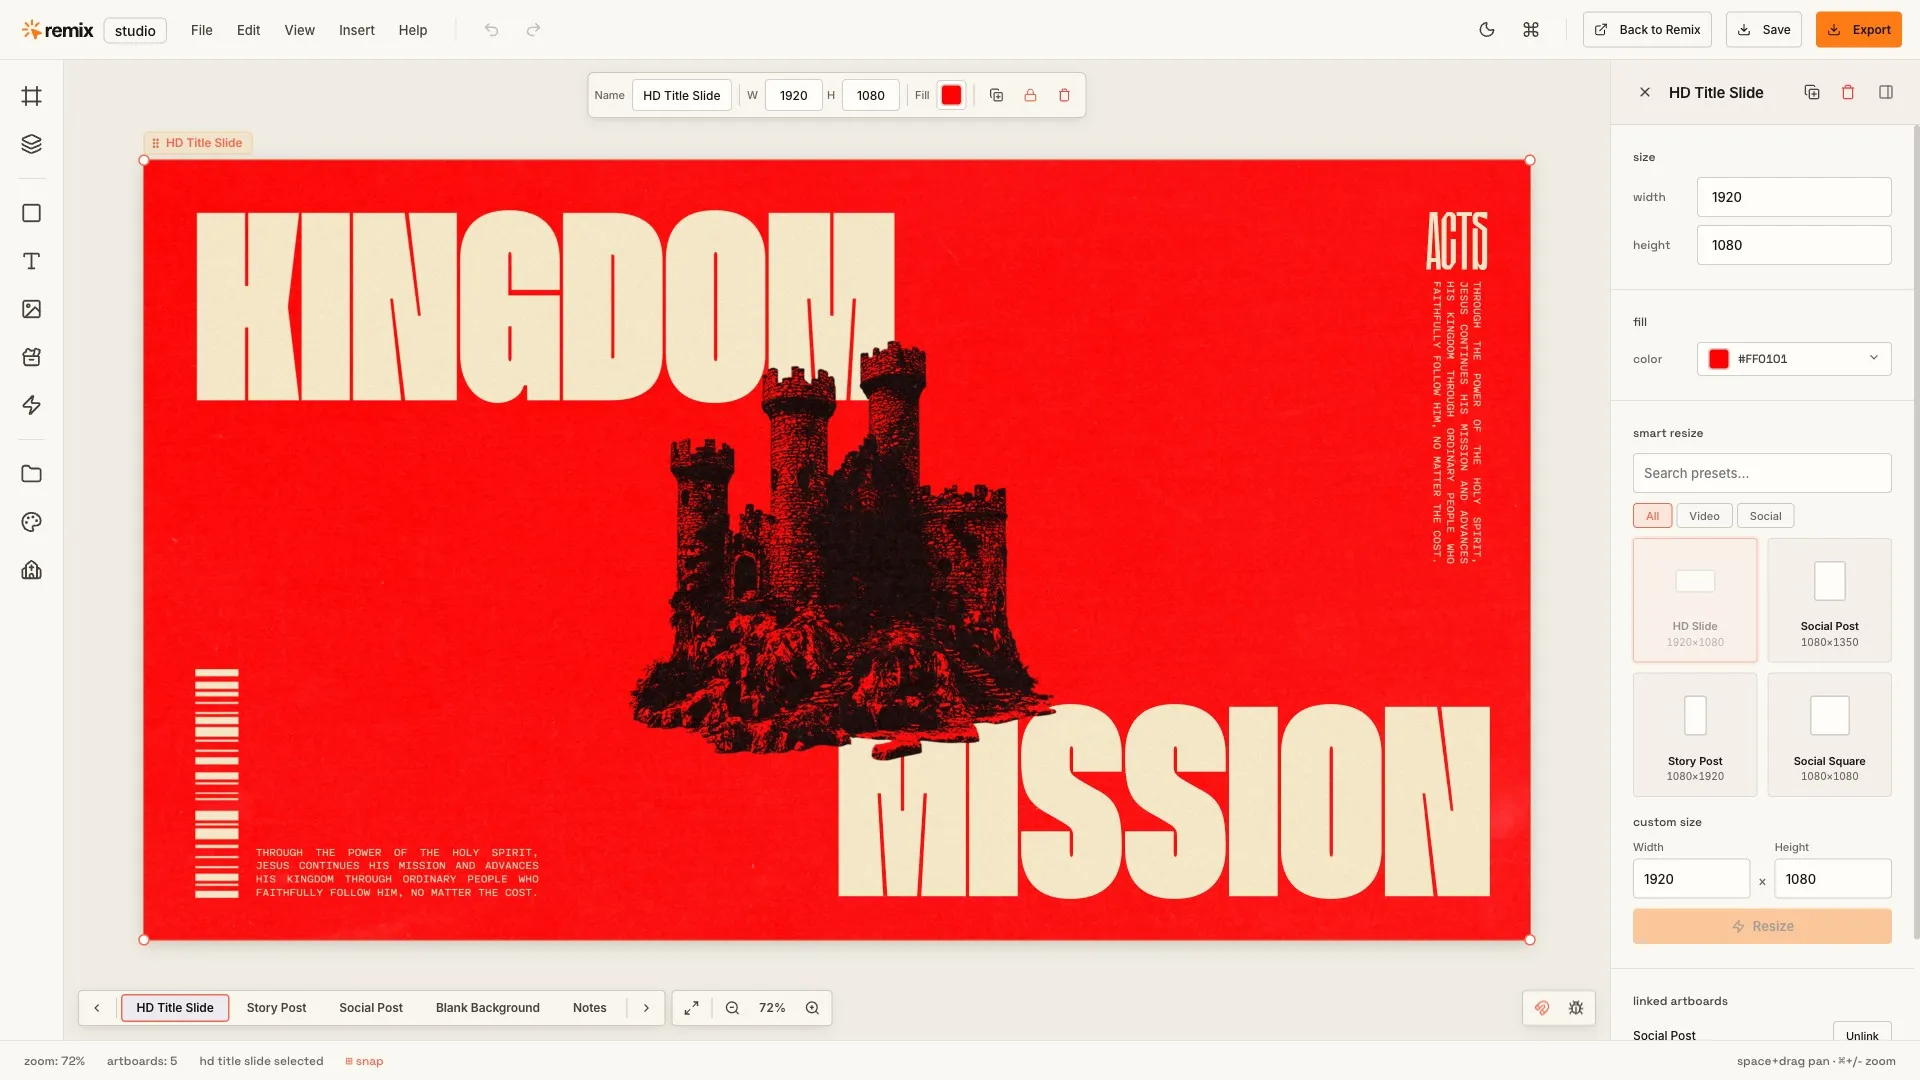
File, Edit, View, Insert, and Help on the left. On the right: Undo, Redo, the theme toggle, Keyboard Shortcuts, Back to Remix, Save, and Export.
A column of icons down the left edge. Click one to open Artboards, Layers, Shapes, Text, or My Projects, or one of the Pro panels: Images, Design Toolkits, Icons & Glyphs, Brand Assets, and Sermon Builder.
The panel on the right. It updates the moment you select something: fill, stroke, size, position, rotation, opacity, shadow, blend mode, and text controls.
The big area in the middle where your artboards live. Scroll or hold Space and drag to pan, use Cmd/Ctrl + scroll or pinch to zoom, and right-click any element for quick actions.
A small toolbar that appears next to whatever you’ve selected, with the most common controls for that kind of element. Text gets one set, a shape gets another.
A bar along the bottom with a button for each artboard. Click one to jump to it, or hover for a quick preview.
the studio guide
Start from a Remix template with the Edit in Remix Studio button on the template page. Every project saves automatically and follows you to any computer.
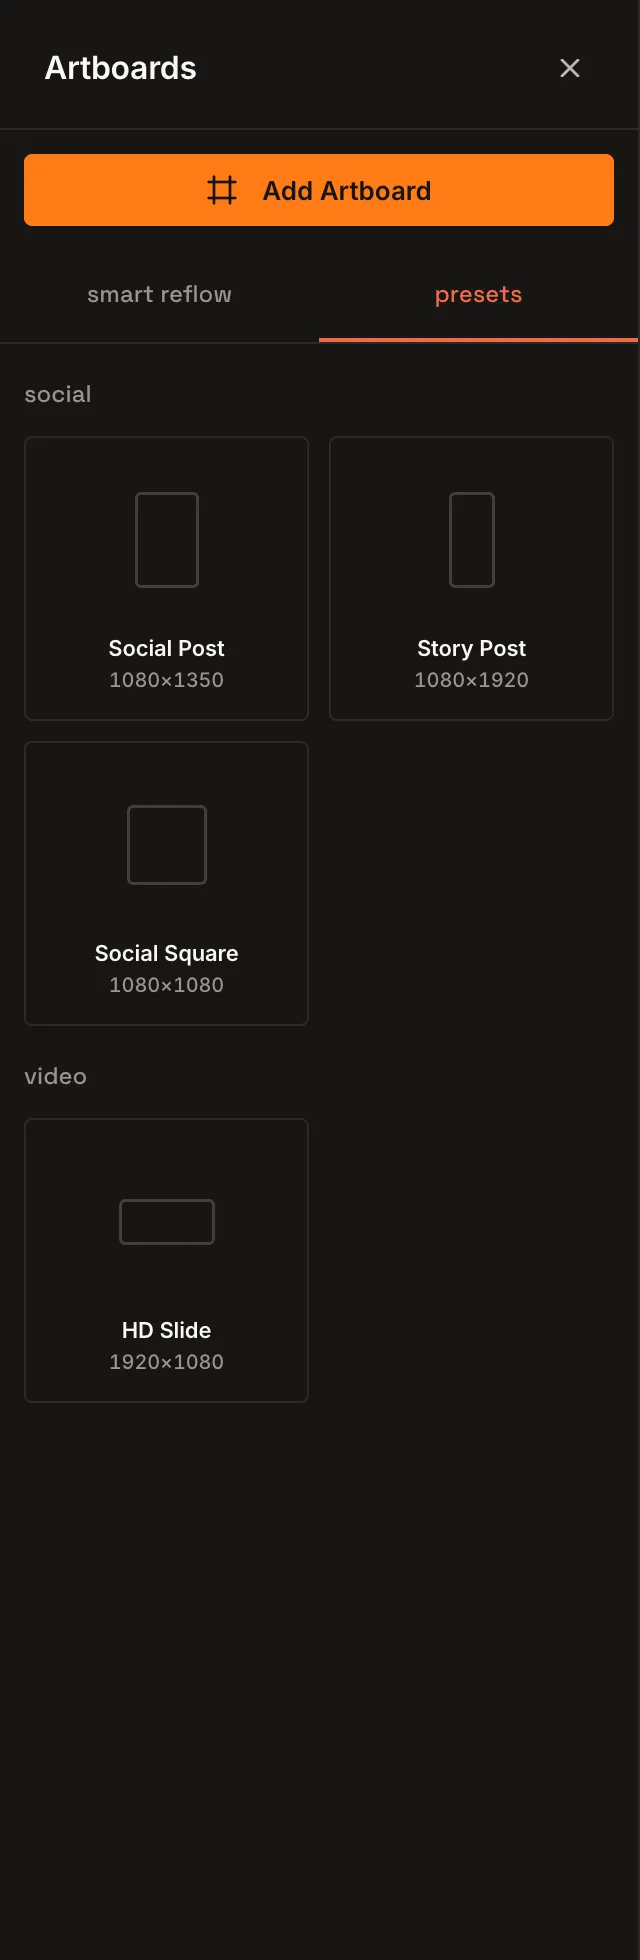
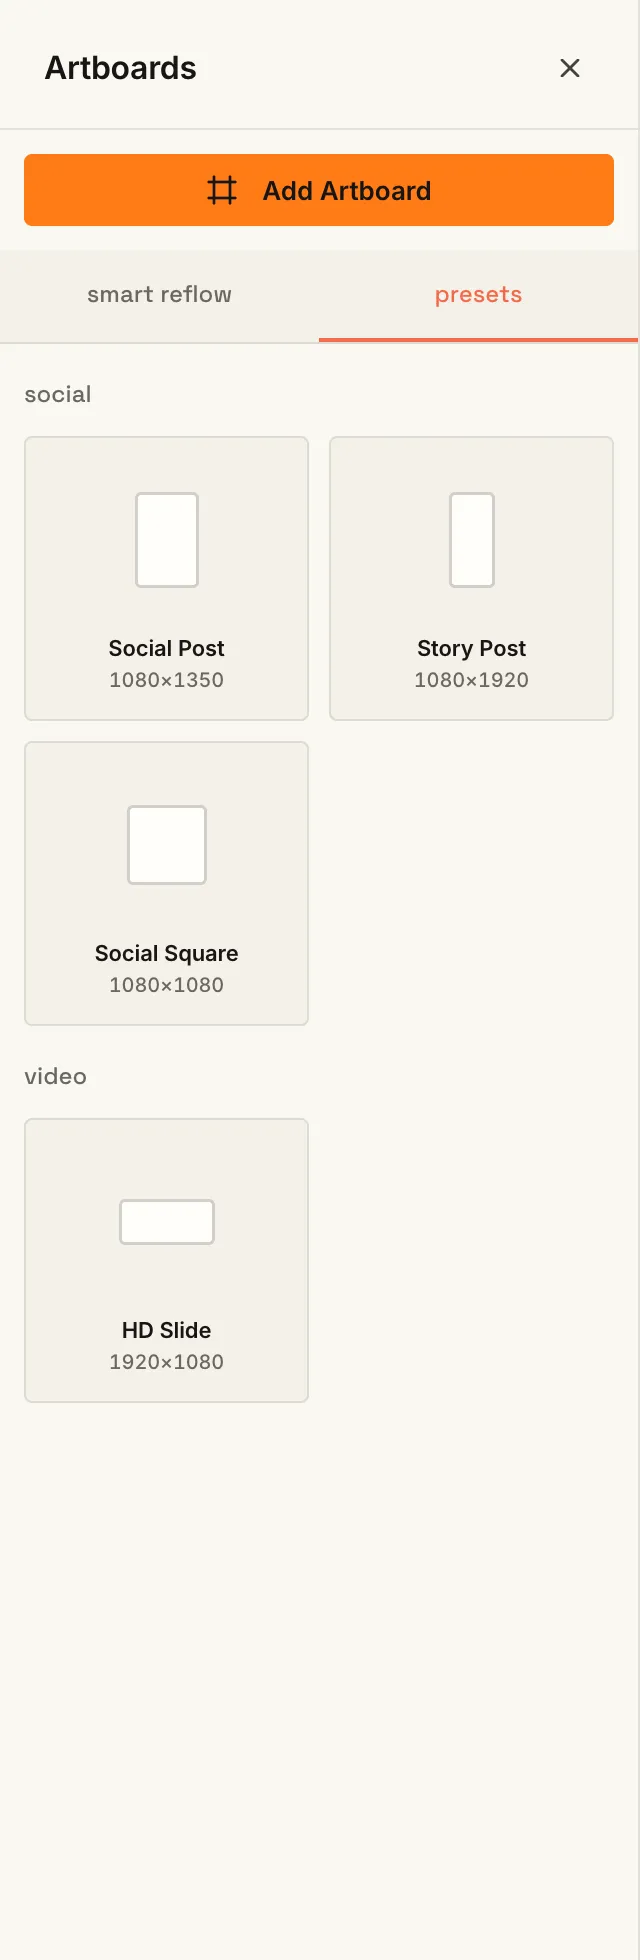
An artboard is one design: a slide, a social post, a story. A project holds as many as you need, side by side on the canvas.


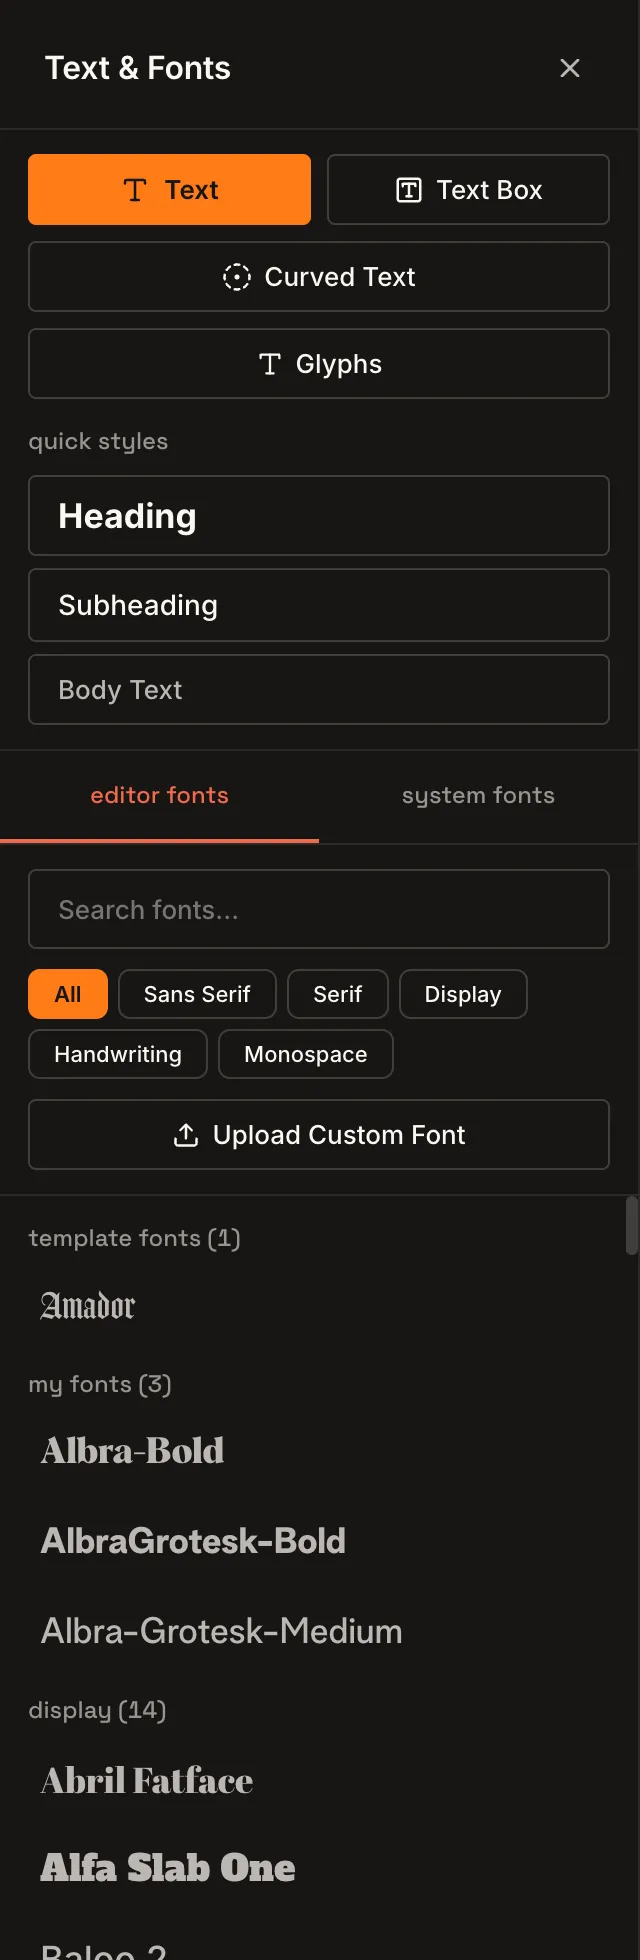
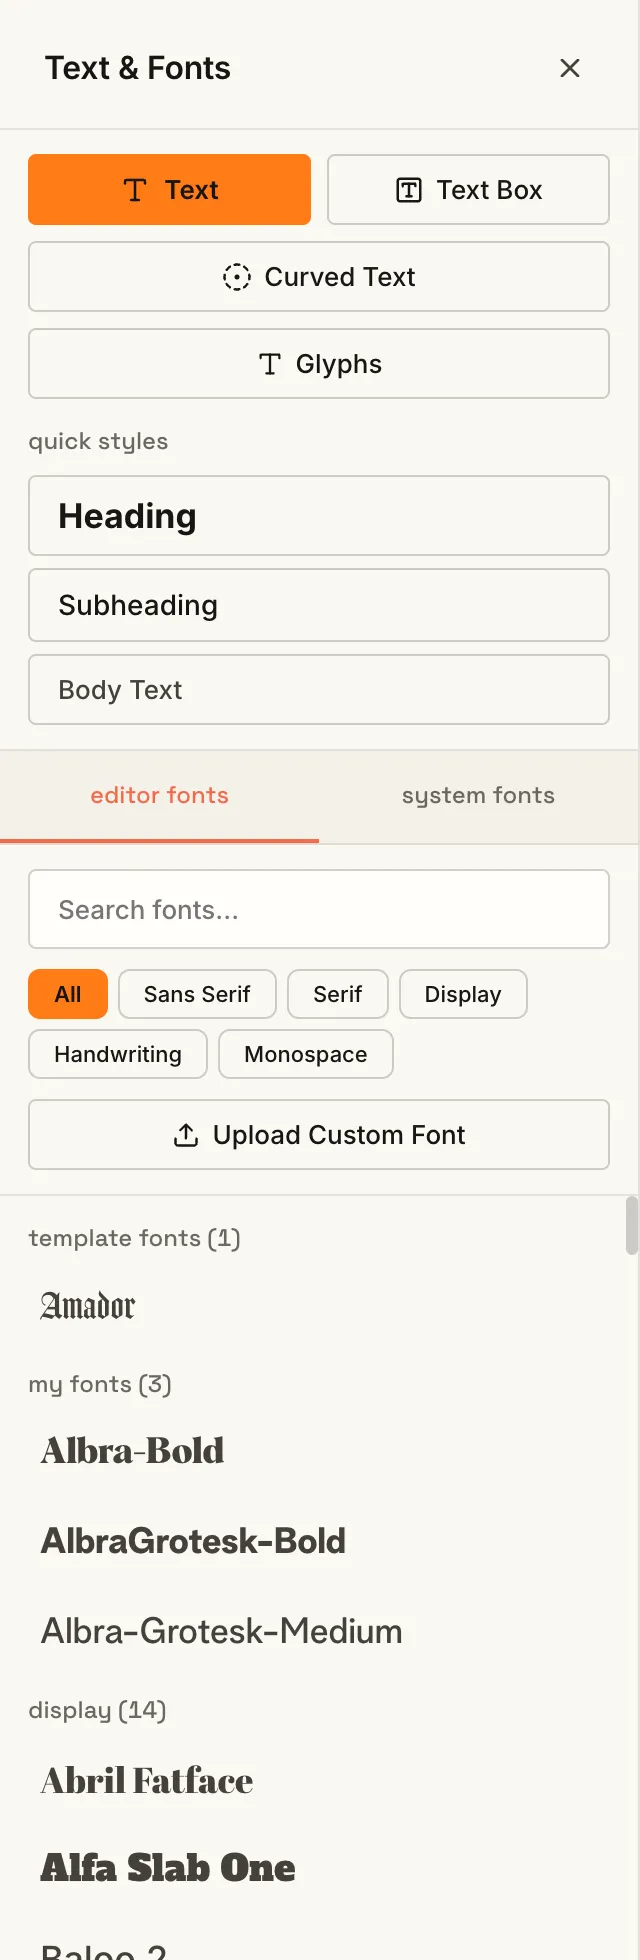
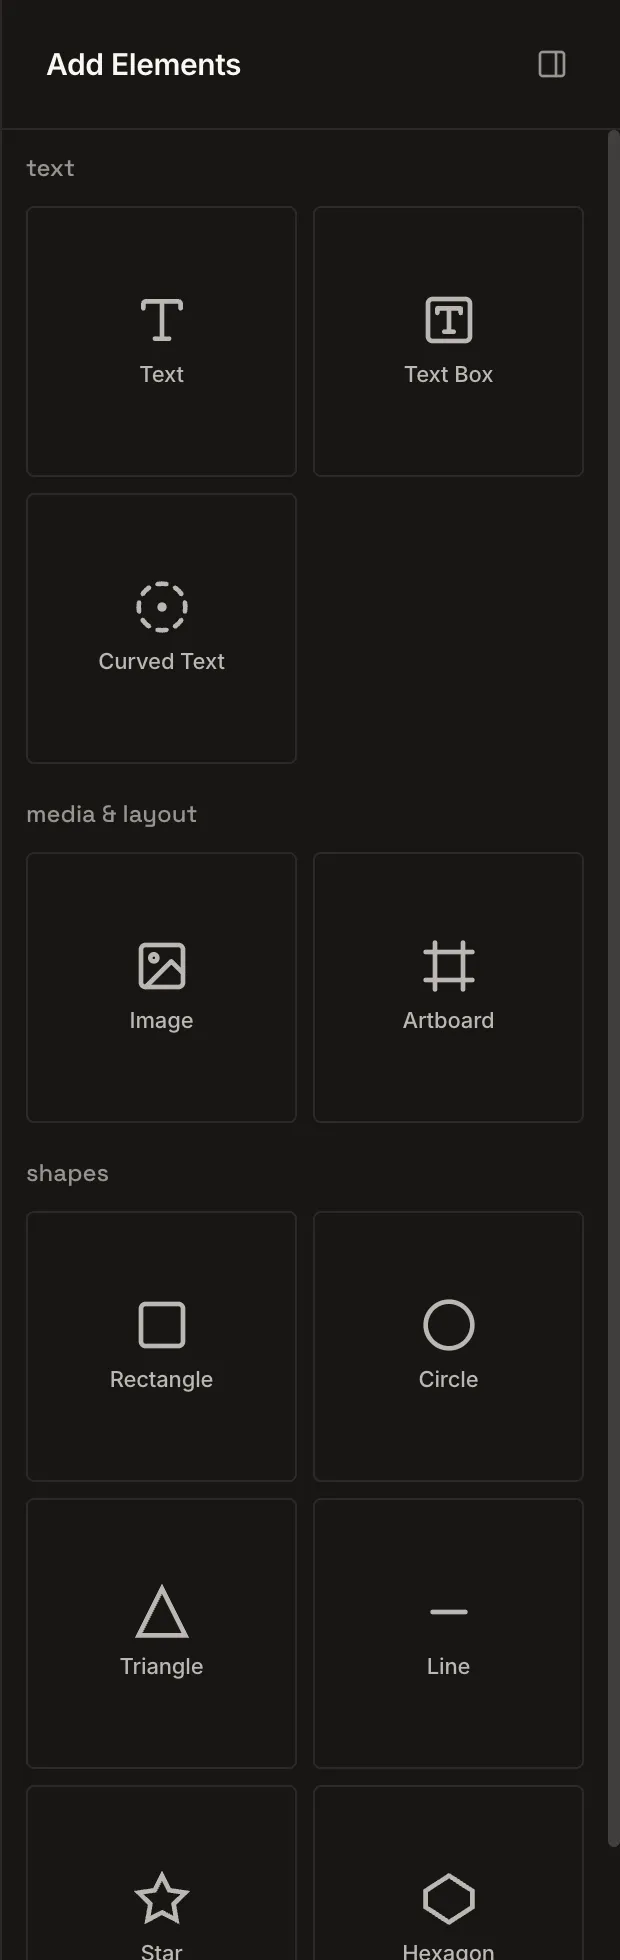
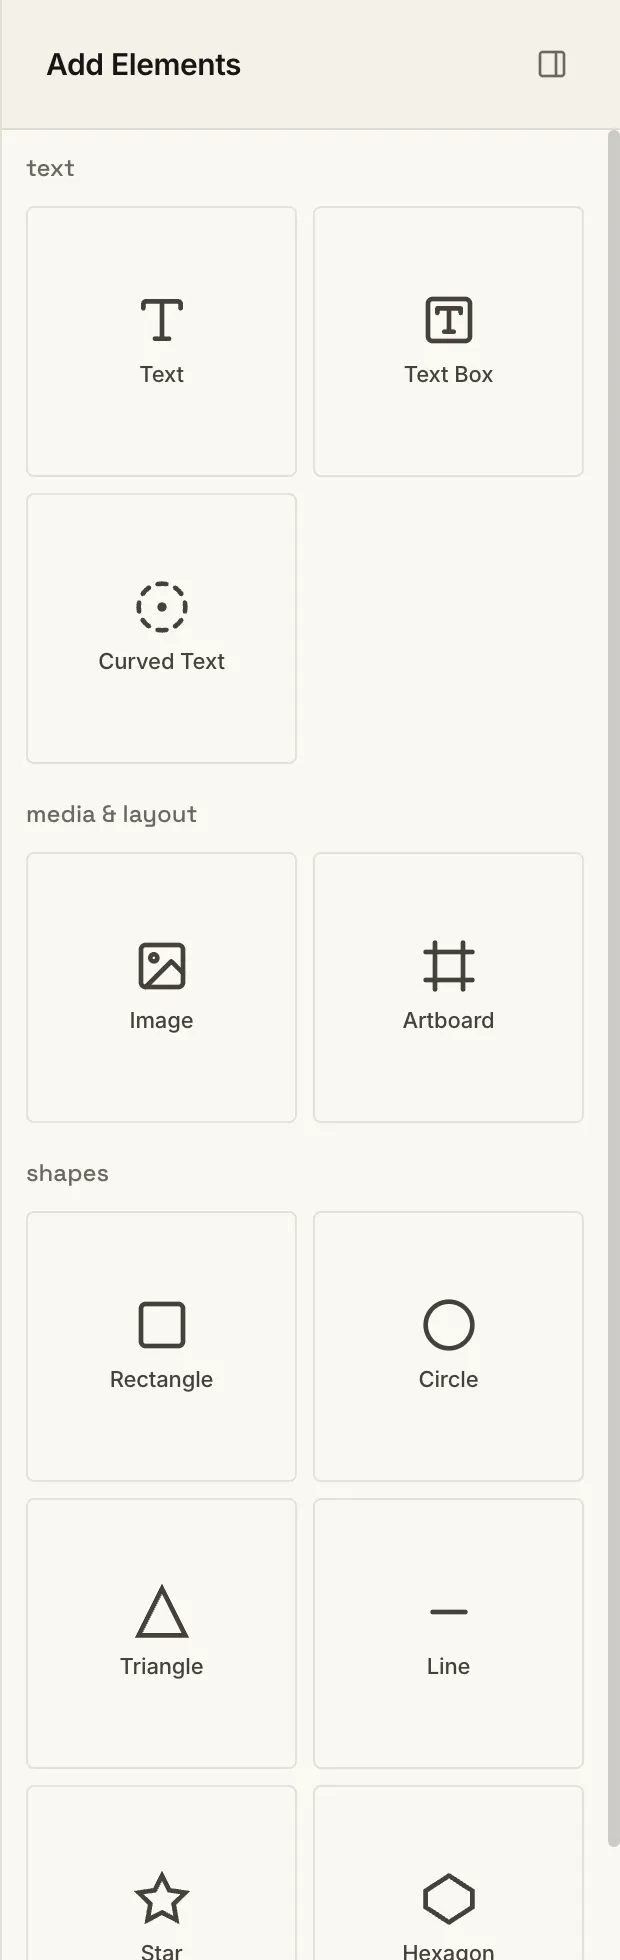
Drop in everything a slide needs. Then reach for curved text, warp, and clipping masks when you want more.


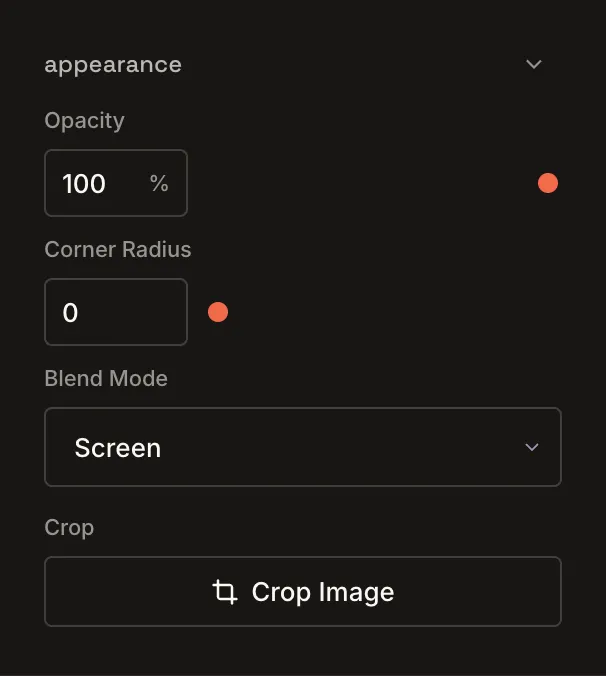
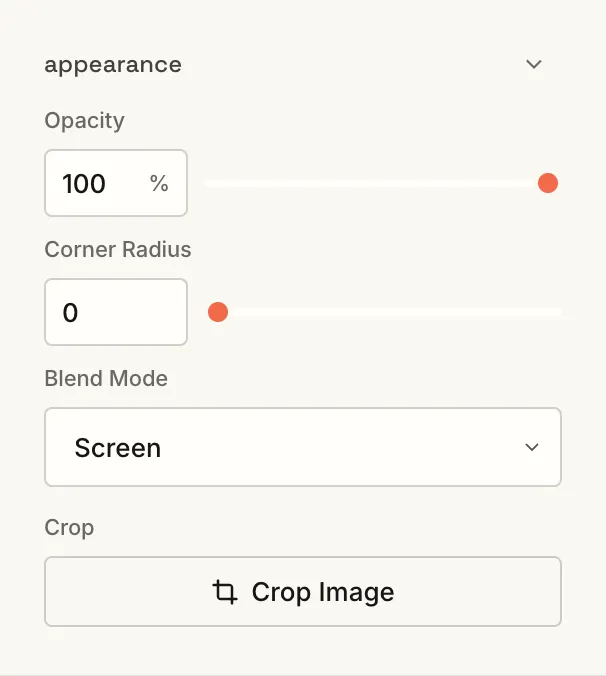
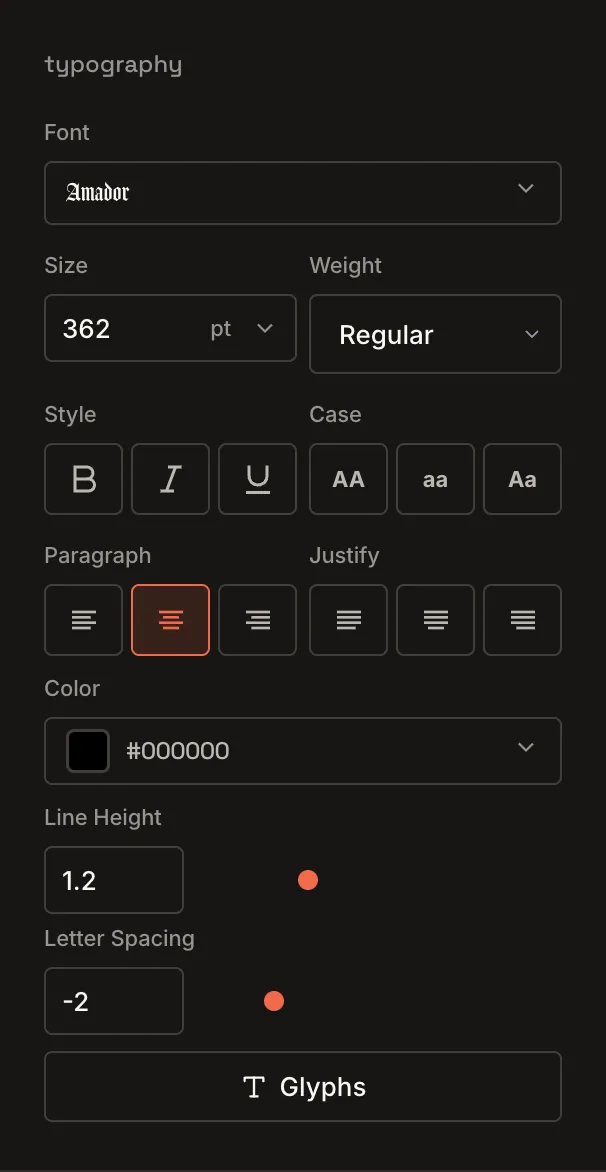
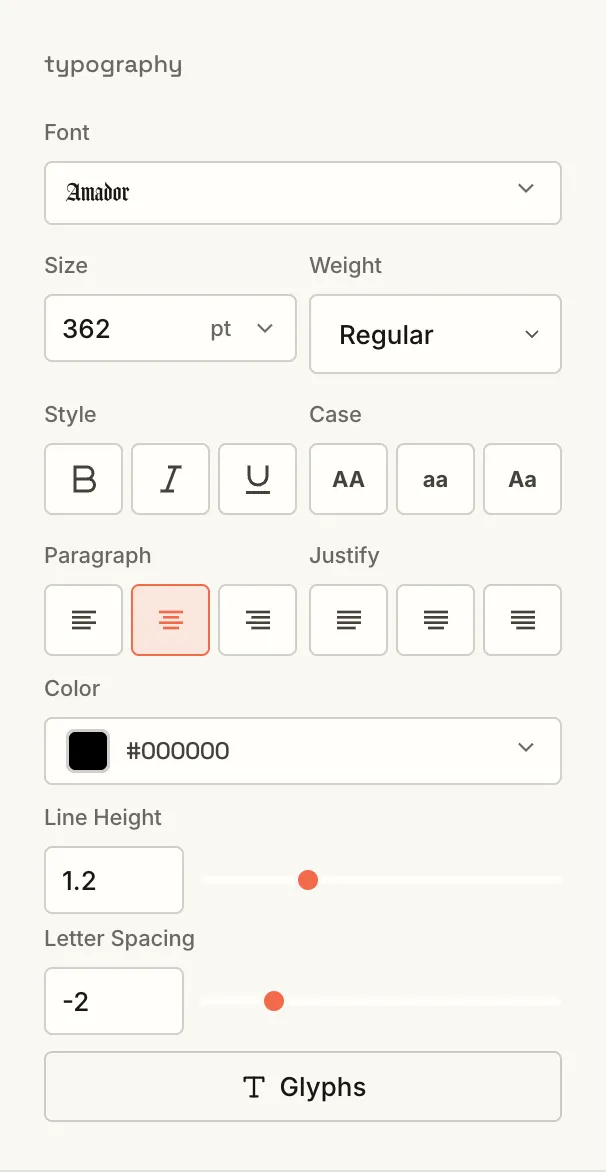
It’s all in the Properties panel. Select an element and style it. No menus to dig through.
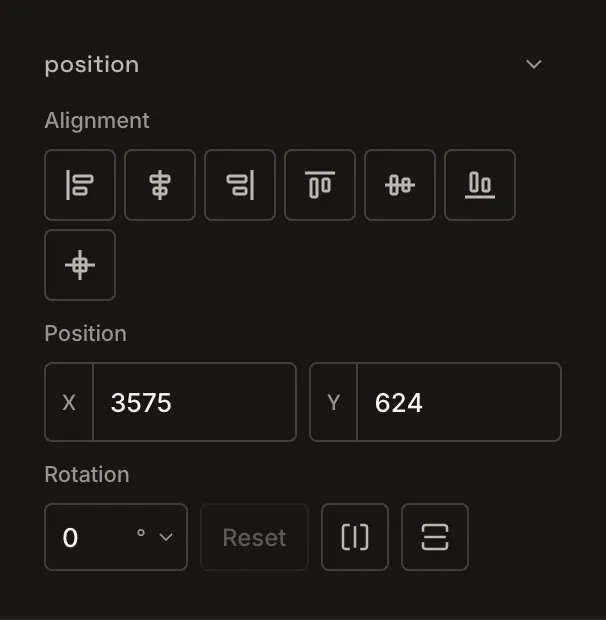
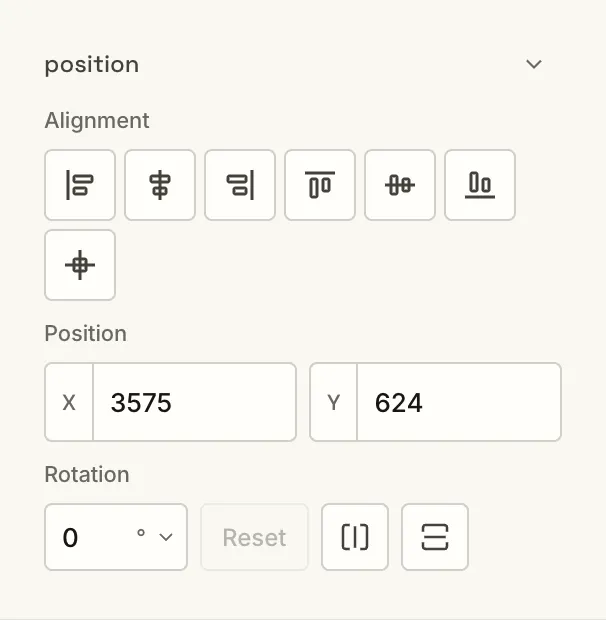
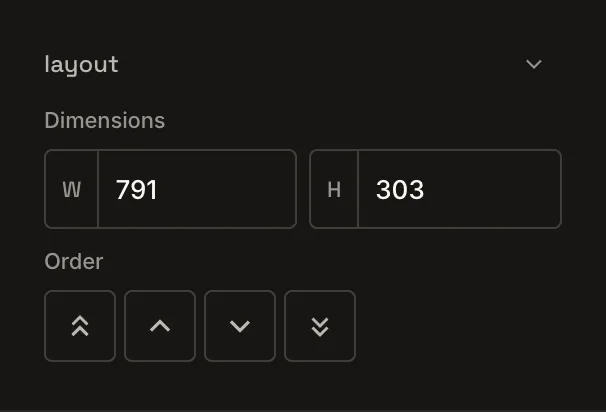
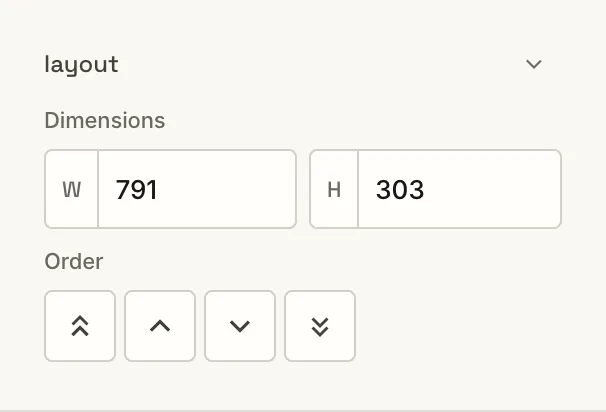
Smart guides line things up for you. Nudge 1 pixel with the arrow keys, or 10 with Shift.
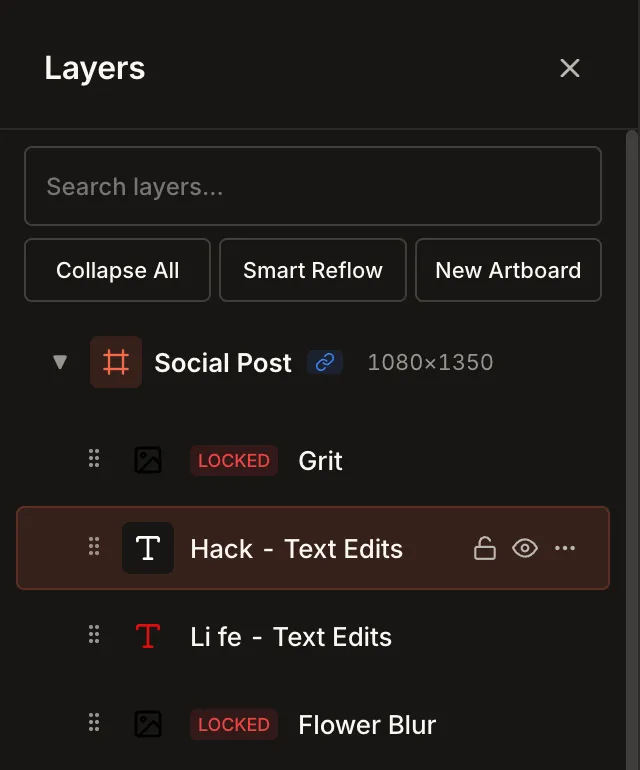
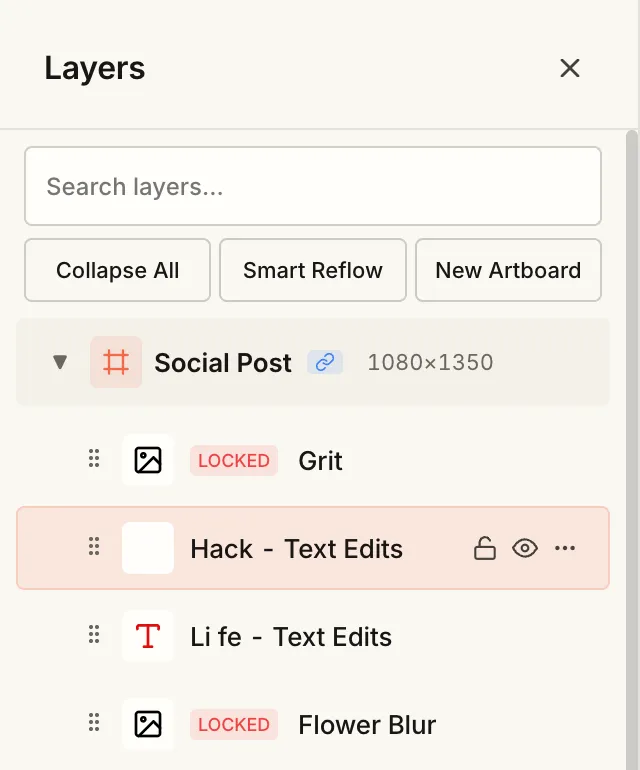
The Layers panel lists every element on every artboard. Search, rename, lock, and hide.
smart tools · pro
Both come with Pro. Smart Reflow resizes a finished design to new formats. AI image generation creates a custom image from a text prompt.
Turn a Social Post into a Story Post, an HD Slide, or all three at once. Smart Reflow rearranges your text and images to fit each new size, giving you a strong starting point you can adjust.
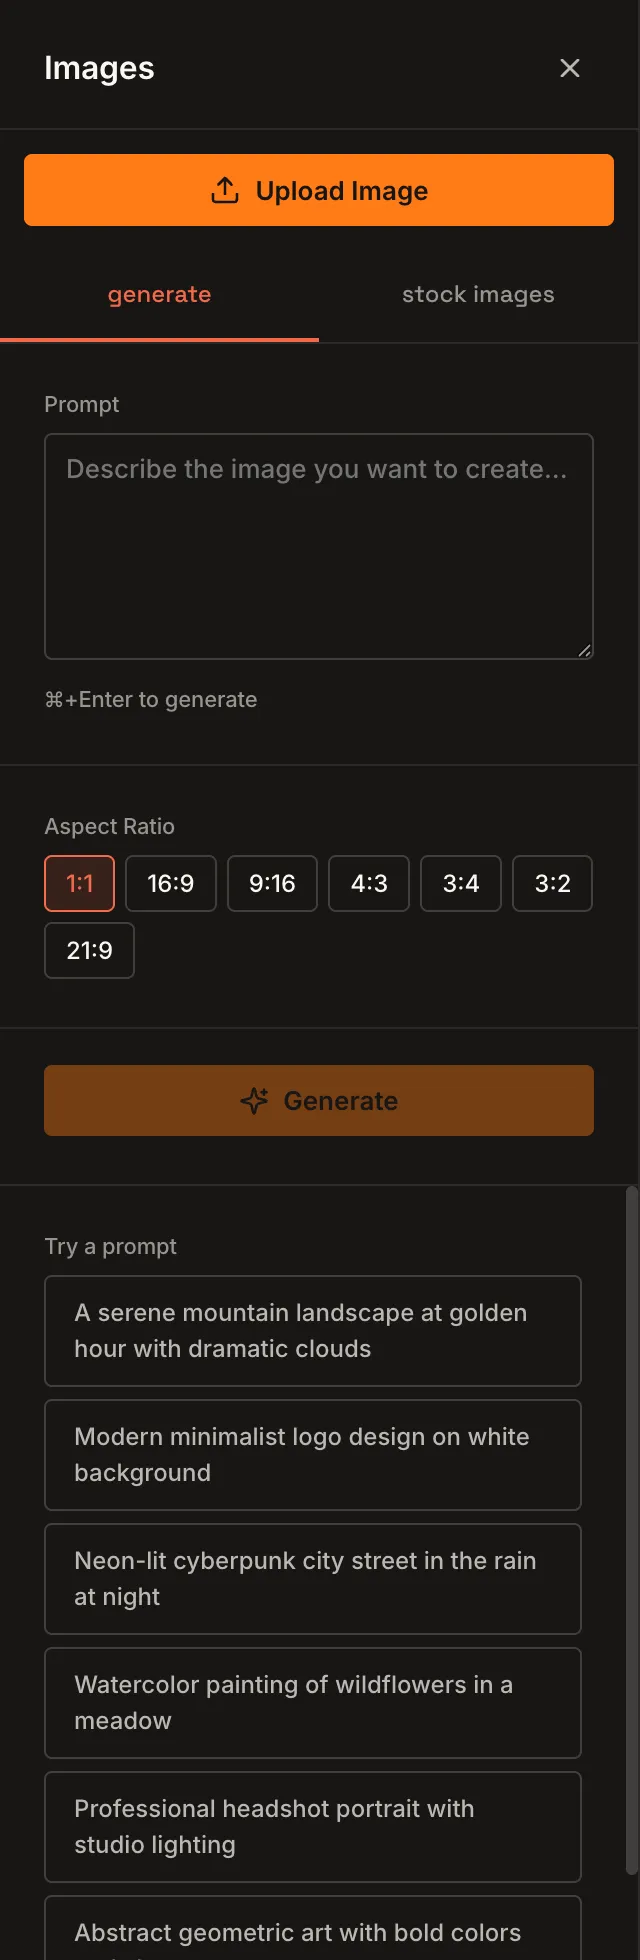
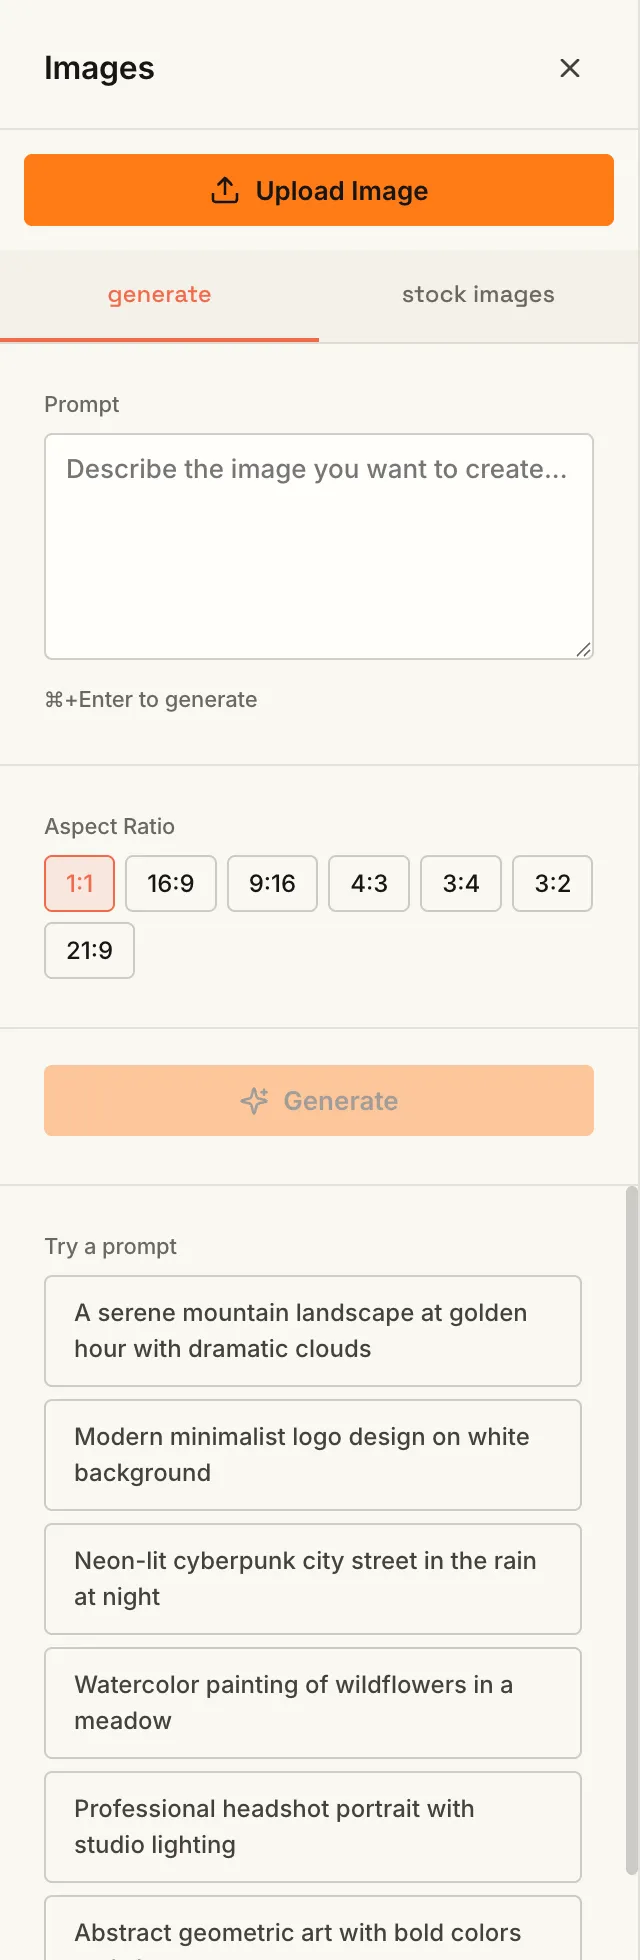
Great for moods, lighting, abstract scenes, and textures. Pick an aspect ratio, generate, and add the result to your project like any uploaded photo. Use real photos for specific people, places, or events.
sermon builder · pro
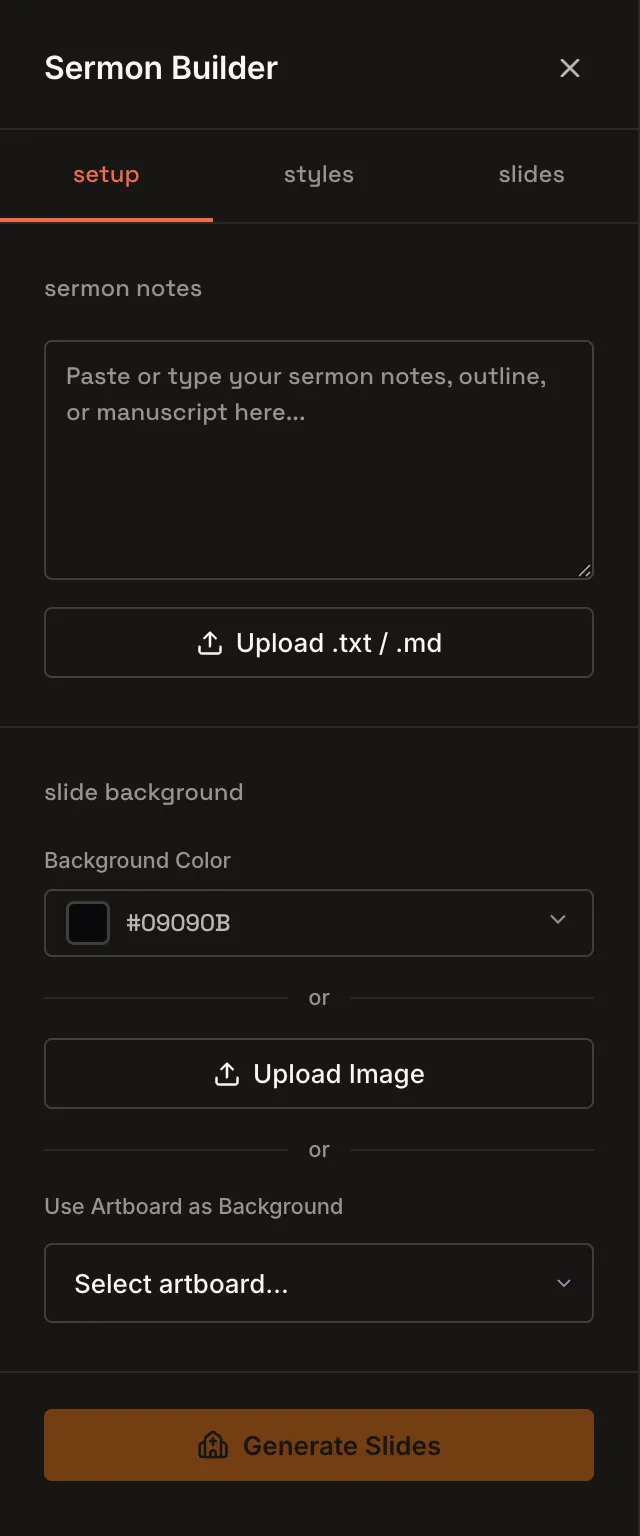
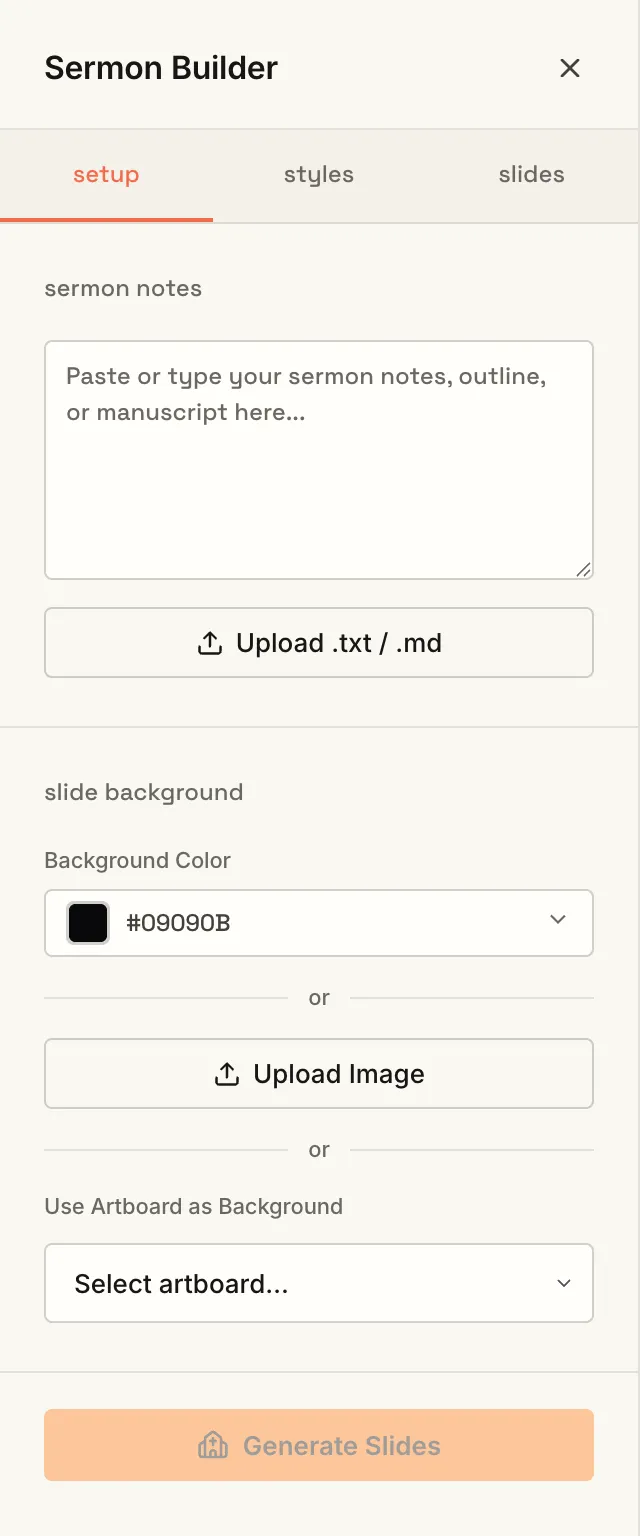
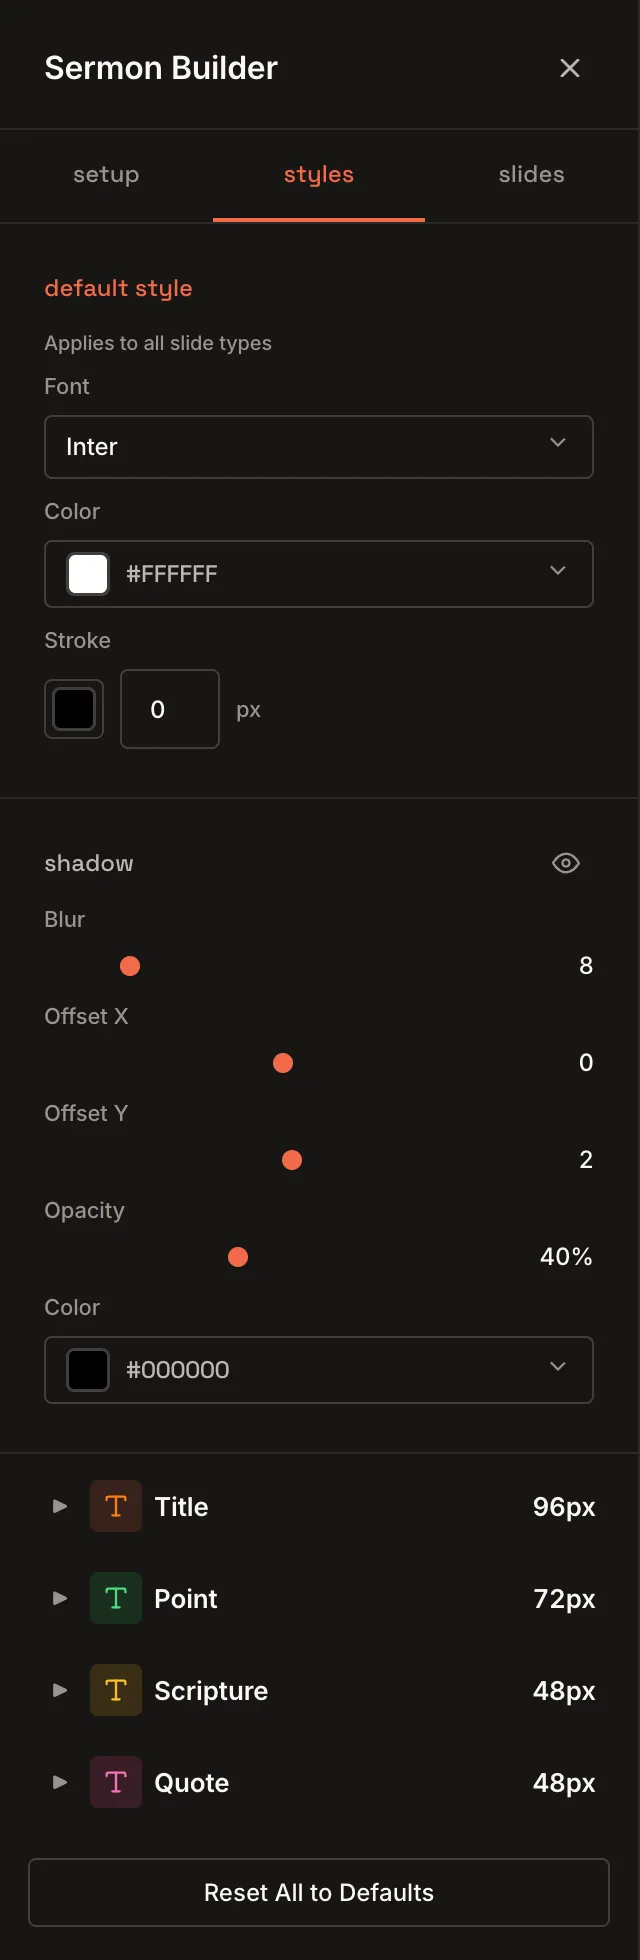
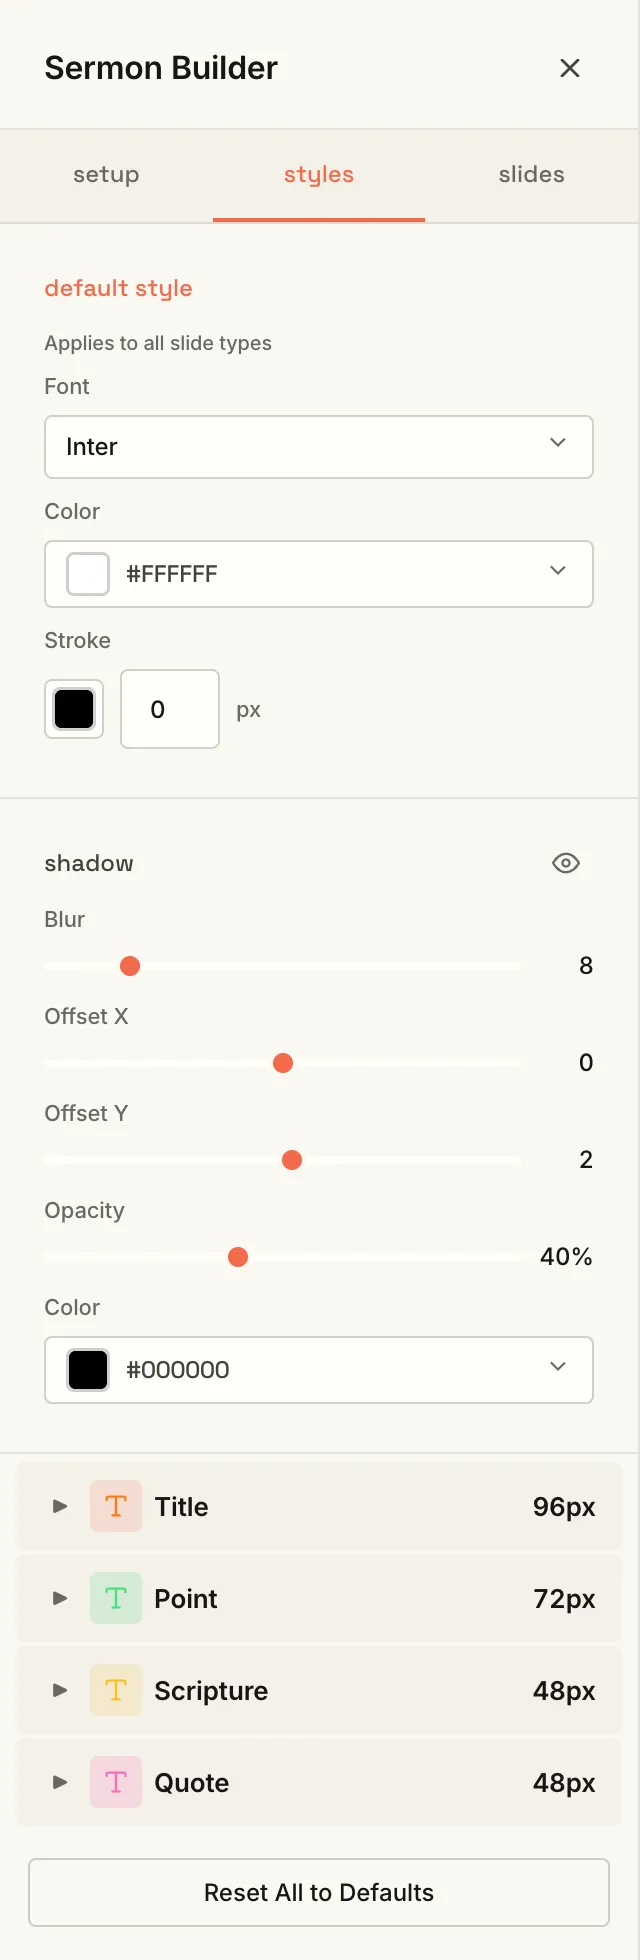
Open the Sermon Builder panel, paste your sermon notes, set your styles, and click Generate Slides. AI optimizes the text for slides and builds title, point, scripture, and quote slides, all styled to match.
Drop in your manuscript or detailed outline, or upload a .txt or .md file.
Set fonts, colors, and sizes for each slide type, and choose a background color, image, or artboard.
Click Generate Slides and your deck appears.
Edit text, change slide types, reorder, and delete slides you don’t need.
Click Create Slides and each slide becomes an HD Slide artboard in your project.
PNG, JPEG, SVG, or layered PSD.
pro features
Everything in Standard, plus the Pro panels that come with All Access Pro.
see all access pro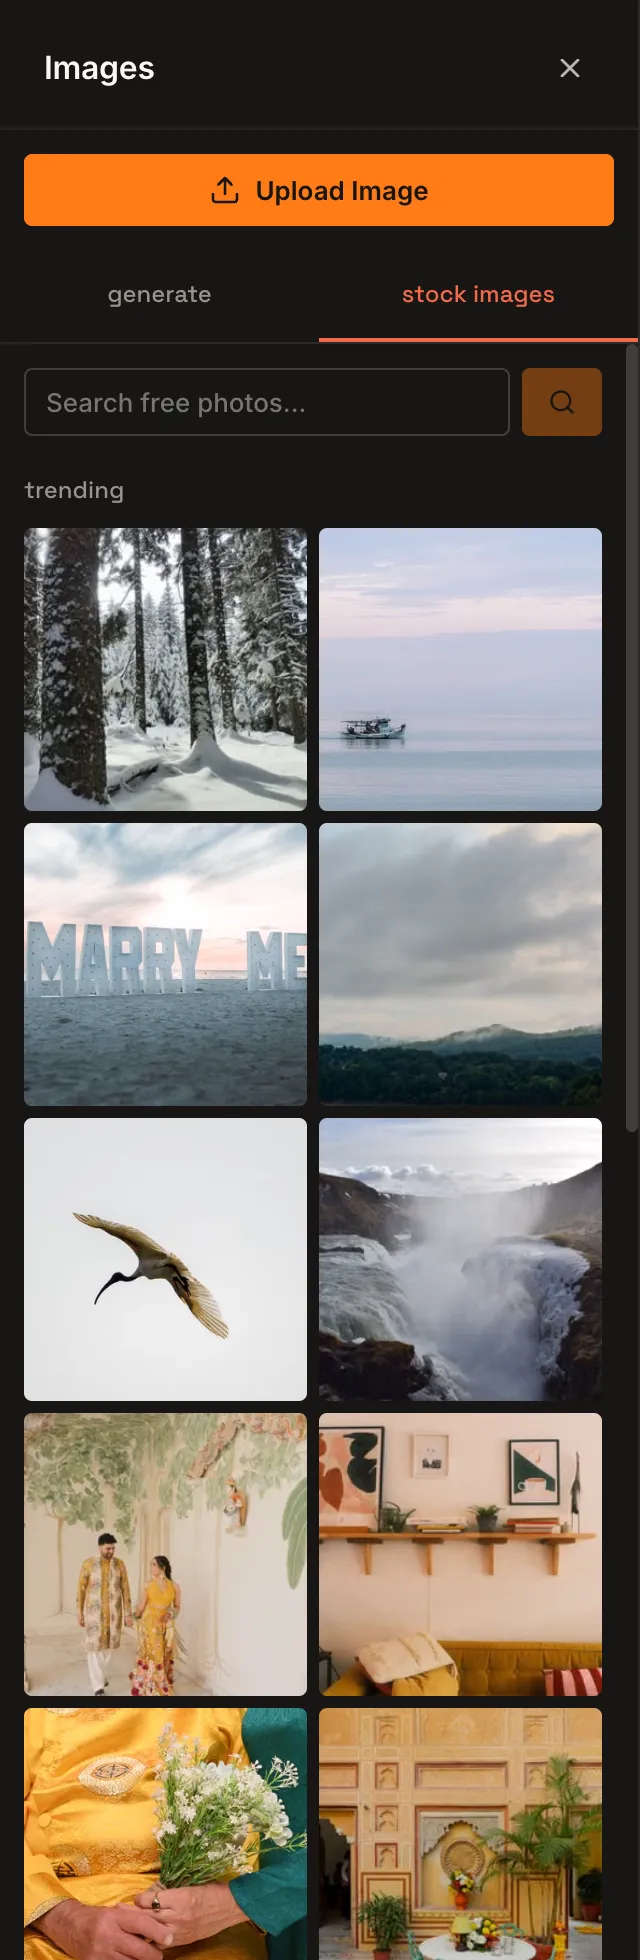
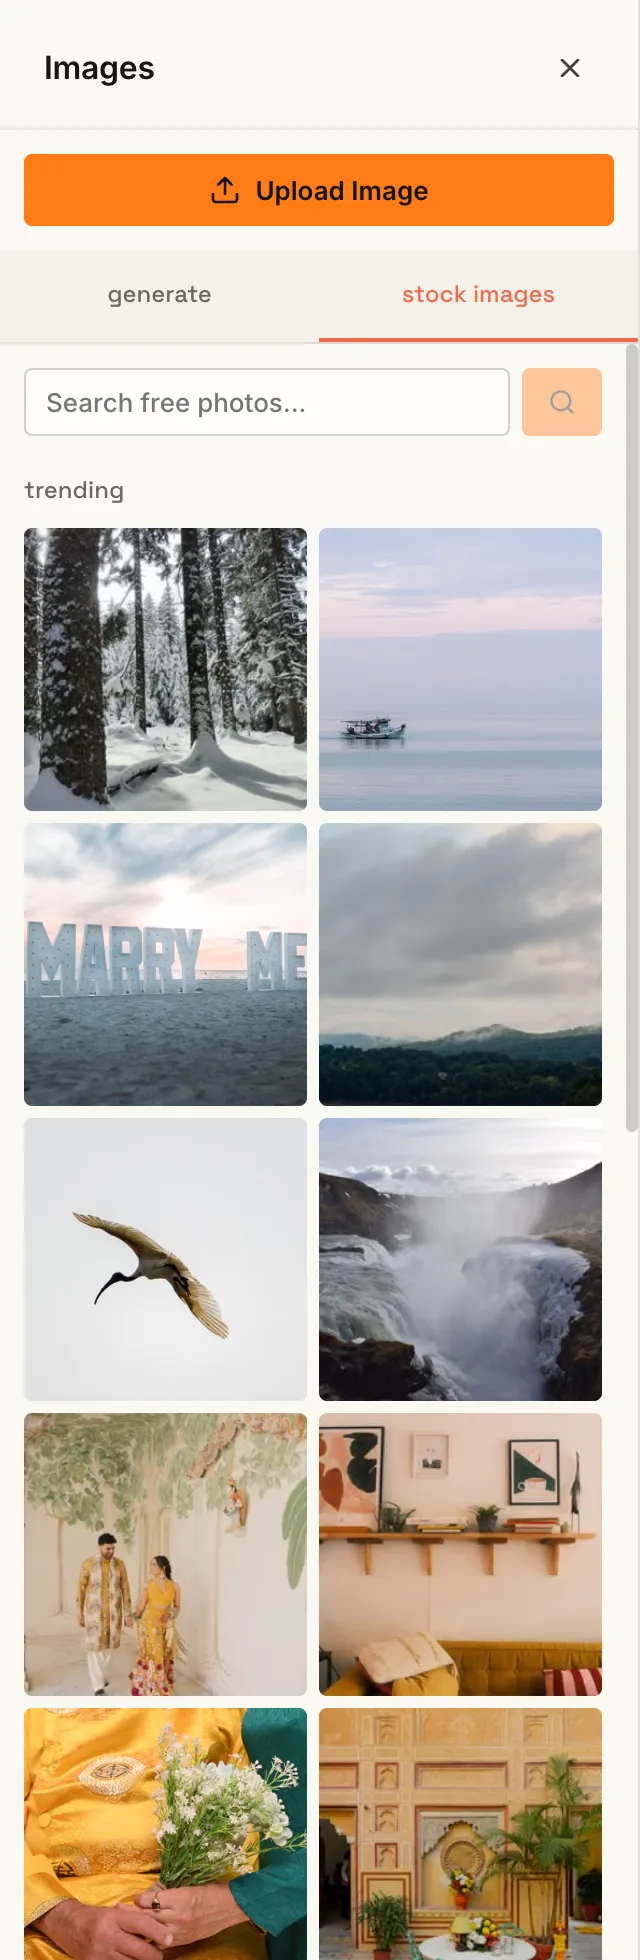
A built-in library of free, high-quality photography. Search it and add photos straight to your artboard.
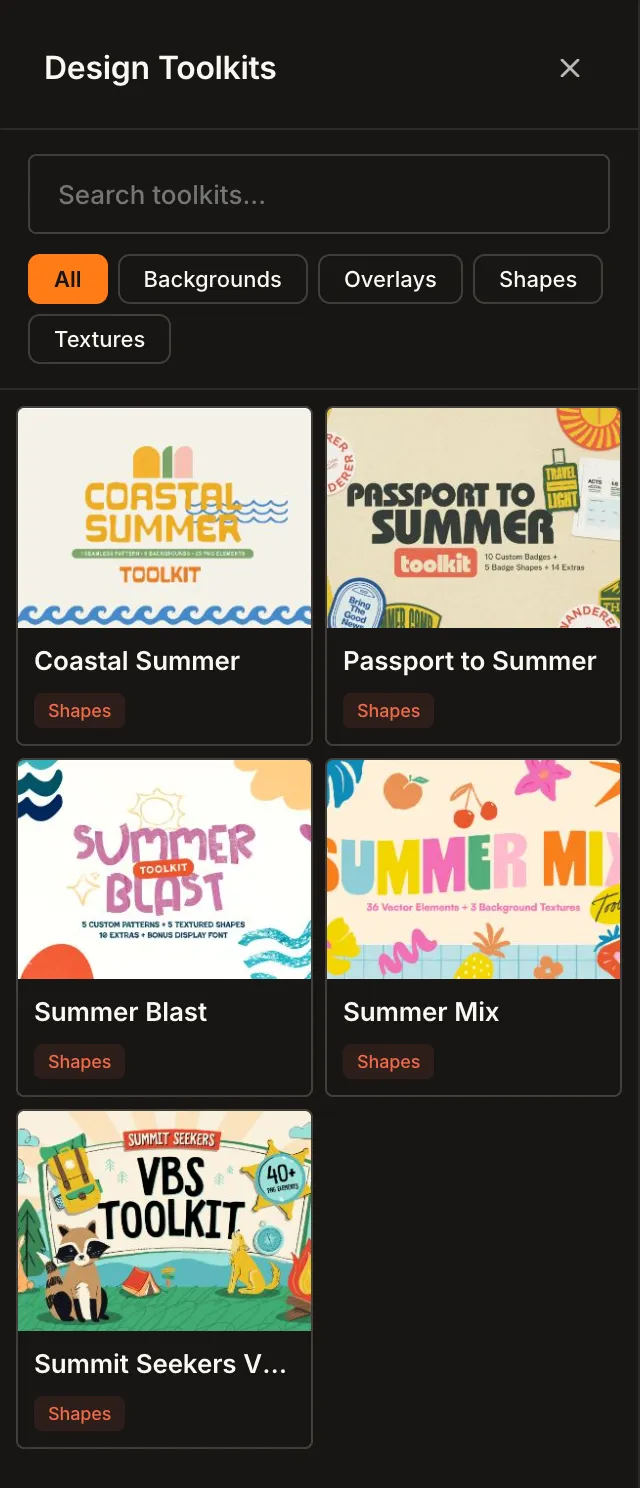
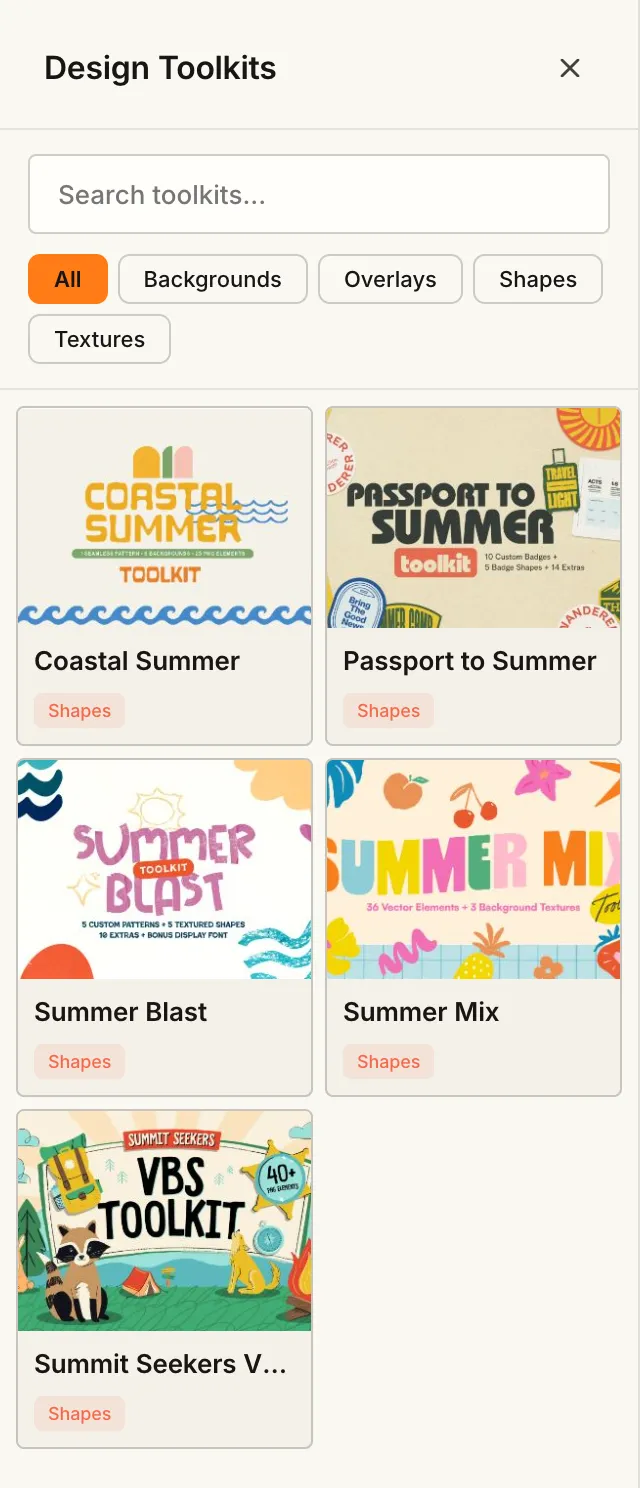
Collections of ready-made design elements to remix into your own designs.
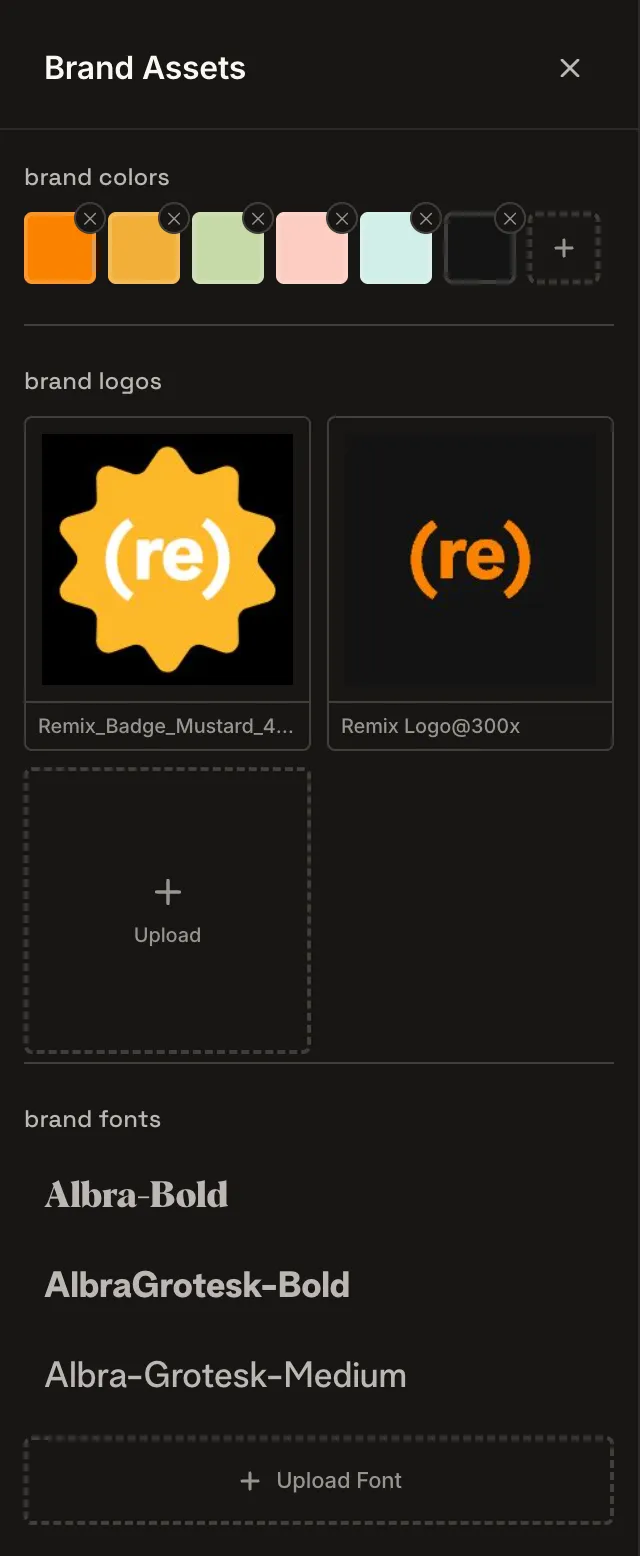
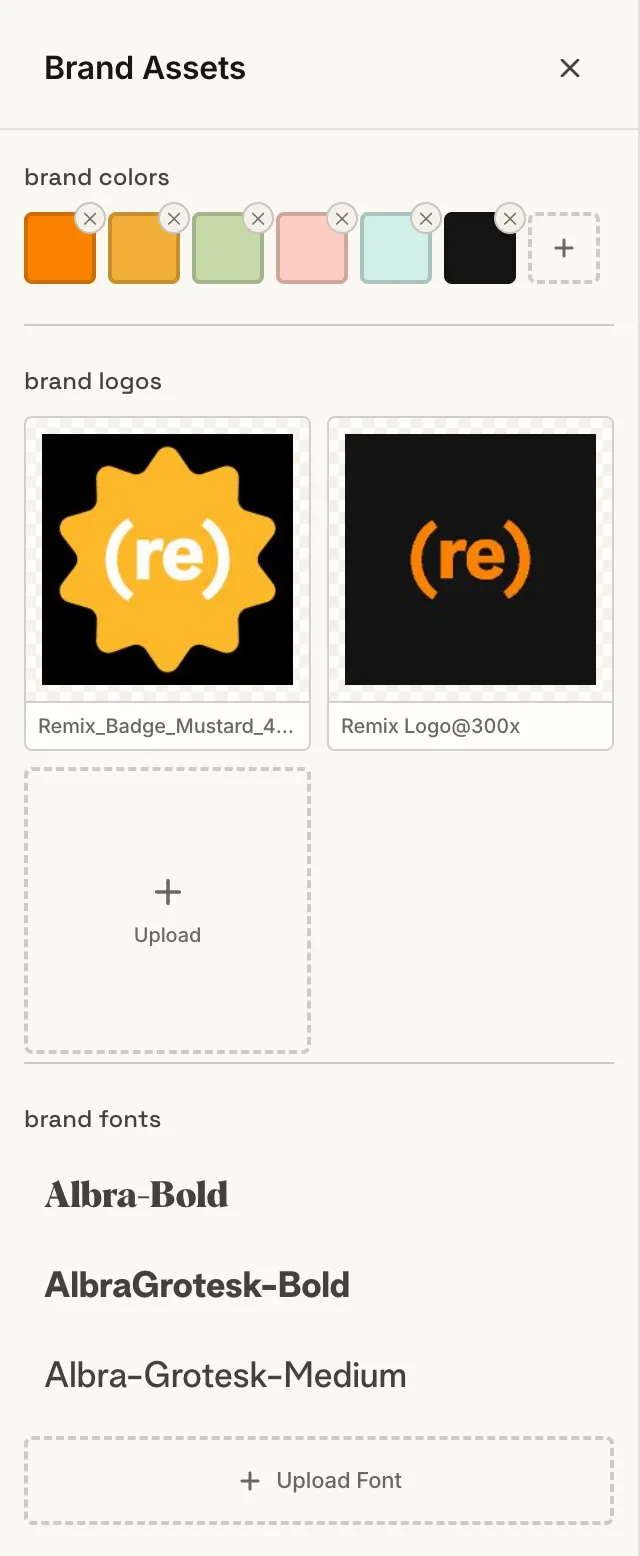
Save your logos, colors, and fonts once and reuse them in every project.
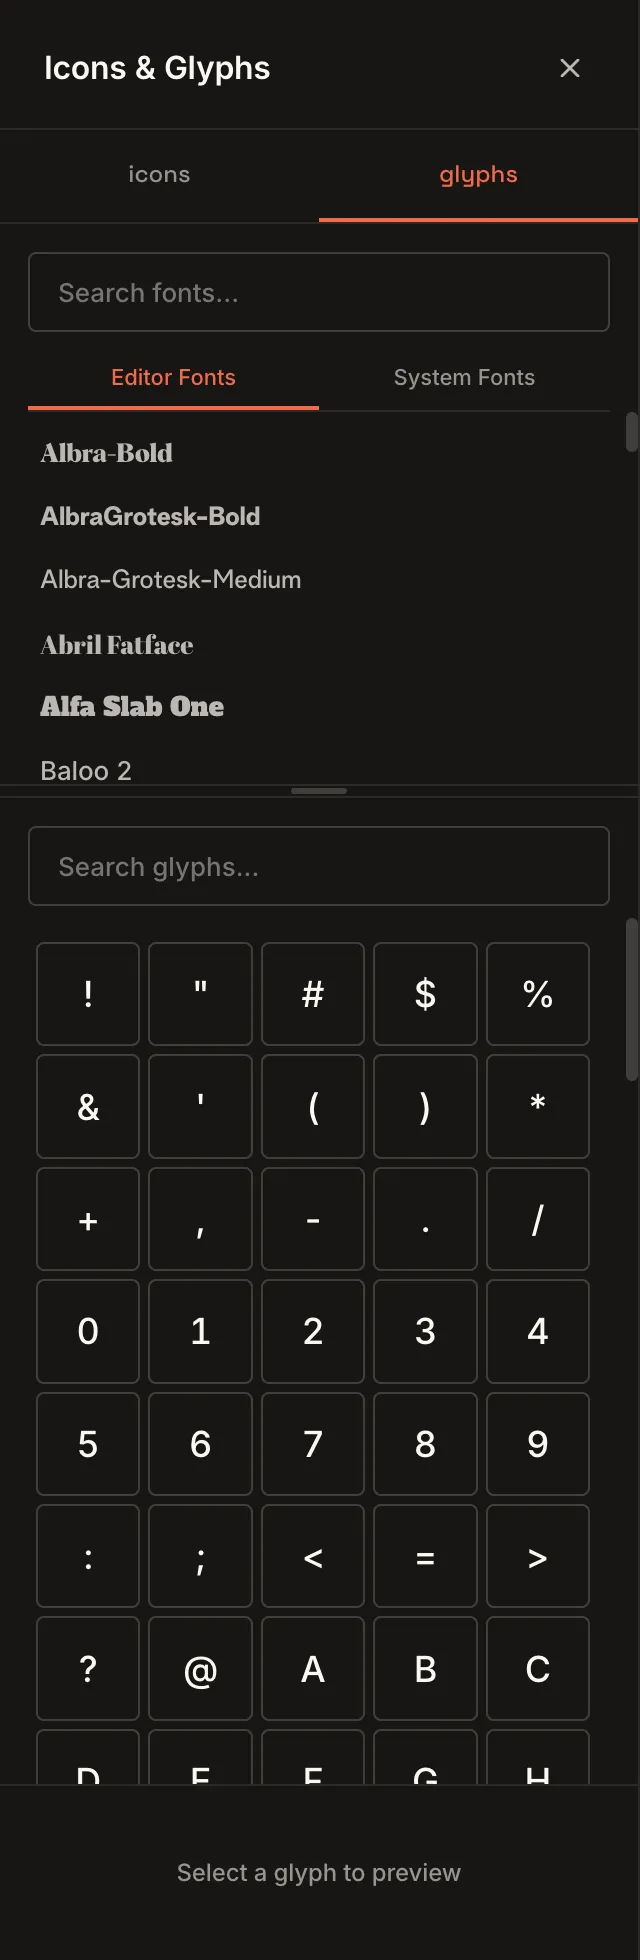
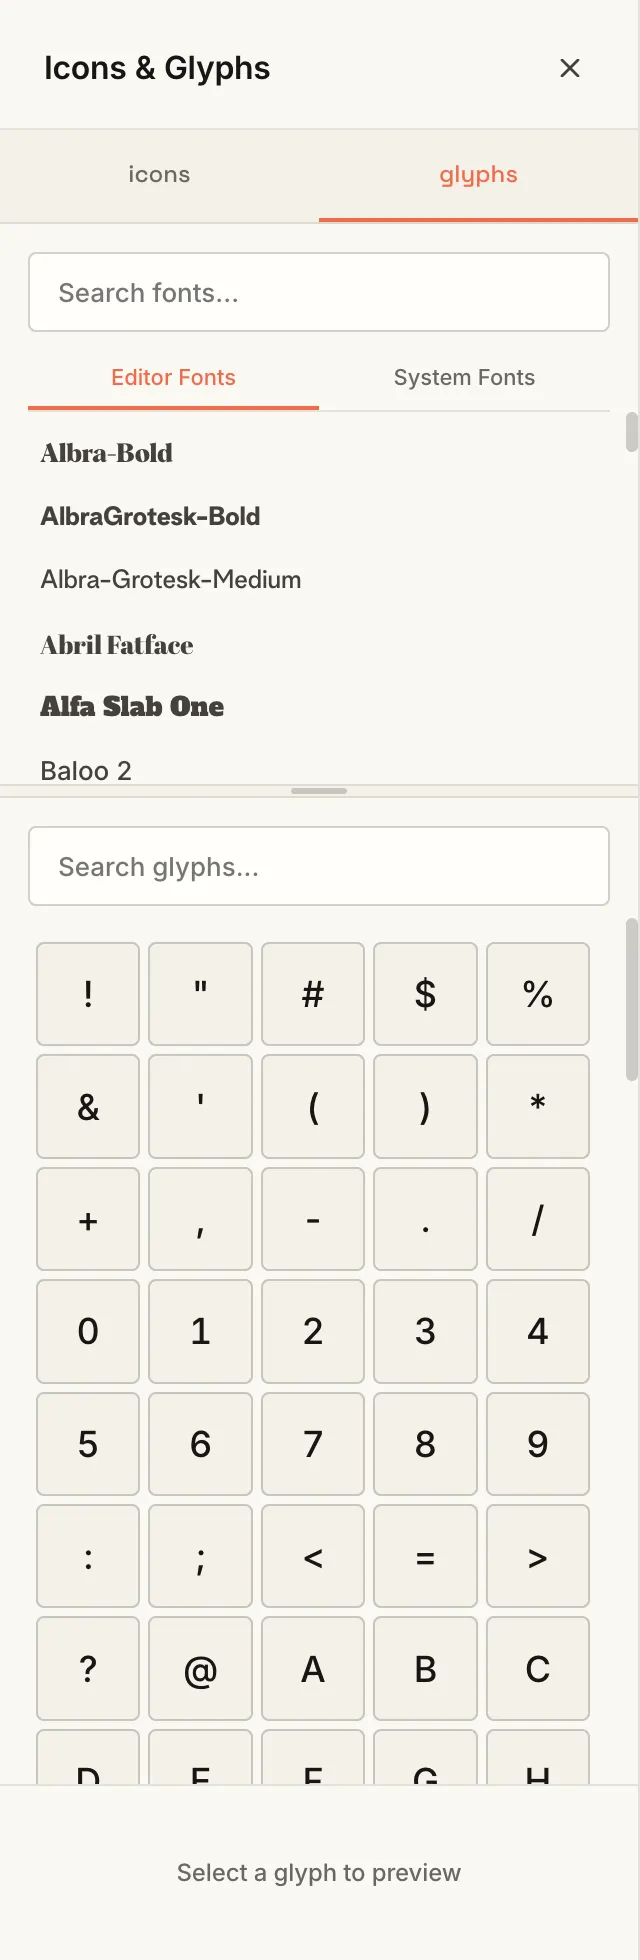
Search a huge icon library and color icons like any shape. Add special characters and alternate letterforms from your fonts.
Export vector SVG files, or layered Photoshop files with every artboard included.
Smart Reflow, AI image generation, and Sermon Builder, all included with Pro.
see all access proready for remix studio
750+ templates open in Remix Studio. Look for Edit in Remix Studio on the template page. These are the newest.
browse every studio templateshortcuts
| File & project | |
|---|---|
| Save project to cloud | Cmd/Ctrl + S |
| Edit | |
|---|---|
| Undo | Cmd/Ctrl + Z |
| Redo | Cmd/Ctrl + Shift + Z or Cmd/Ctrl + Y |
| Duplicate | Cmd/Ctrl + D |
| Group / Ungroup | Cmd/Ctrl + G / Cmd/Ctrl + Shift + G |
| Lock or unlock | Cmd/Ctrl + L |
| View & zoom | |
|---|---|
| Zoom to 100% | Cmd/Ctrl + 0 |
| Zoom to fit | Cmd/Ctrl + 1 |
| Pan | Hold Space + drag |
| Quick tools (single key) | |
|---|---|
| Select tool | V |
| Add text | T |
| Add rectangle | R |
| Add circle | O |
| Add line | L |
| Layer order | |
|---|---|
| Bring forward / Send backward | ] / [ |
| Bring to front / Send to back | Cmd/Ctrl + ] / Cmd/Ctrl + [ |
| Nudge by 1 / 10 pixels | Arrow keys / Shift + arrow keys |
things people ask
No. Remix Studio runs in your browser: Chrome, Safari, or Edge. Your projects autosave to the cloud and follow you to any computer.
Standard includes the editor: artboards, text, shapes, layers, projects, and PNG and JPEG exports. Pro adds Smart Reflow, AI image generation, Sermon Builder, Pexels stock, Design Toolkits, Brand Assets, Icons & Glyphs, and SVG and layered PSD exports.
No. Your project data isn’t shared as training data. What you make stays yours, and anything the AI creates is fully editable. Press Cmd/Ctrl + Z to undo it any time.
Try a hard refresh of the browser tab. The font list in Remix Studio is curated. If a custom font you uploaded isn’t loading, try uploading it again.
Click Export, pick a format, then click Export All. Every artboard downloads together in one zip file. Choose PNG for general use, or JPEG if your design has no transparent areas.
Remix Studio is included with All Access Standard and Pro. Open a template, change a few things, and you’ll ship in five minutes.